
Fitness
How to Use Cannabis Concentrates: Tips for Beginners
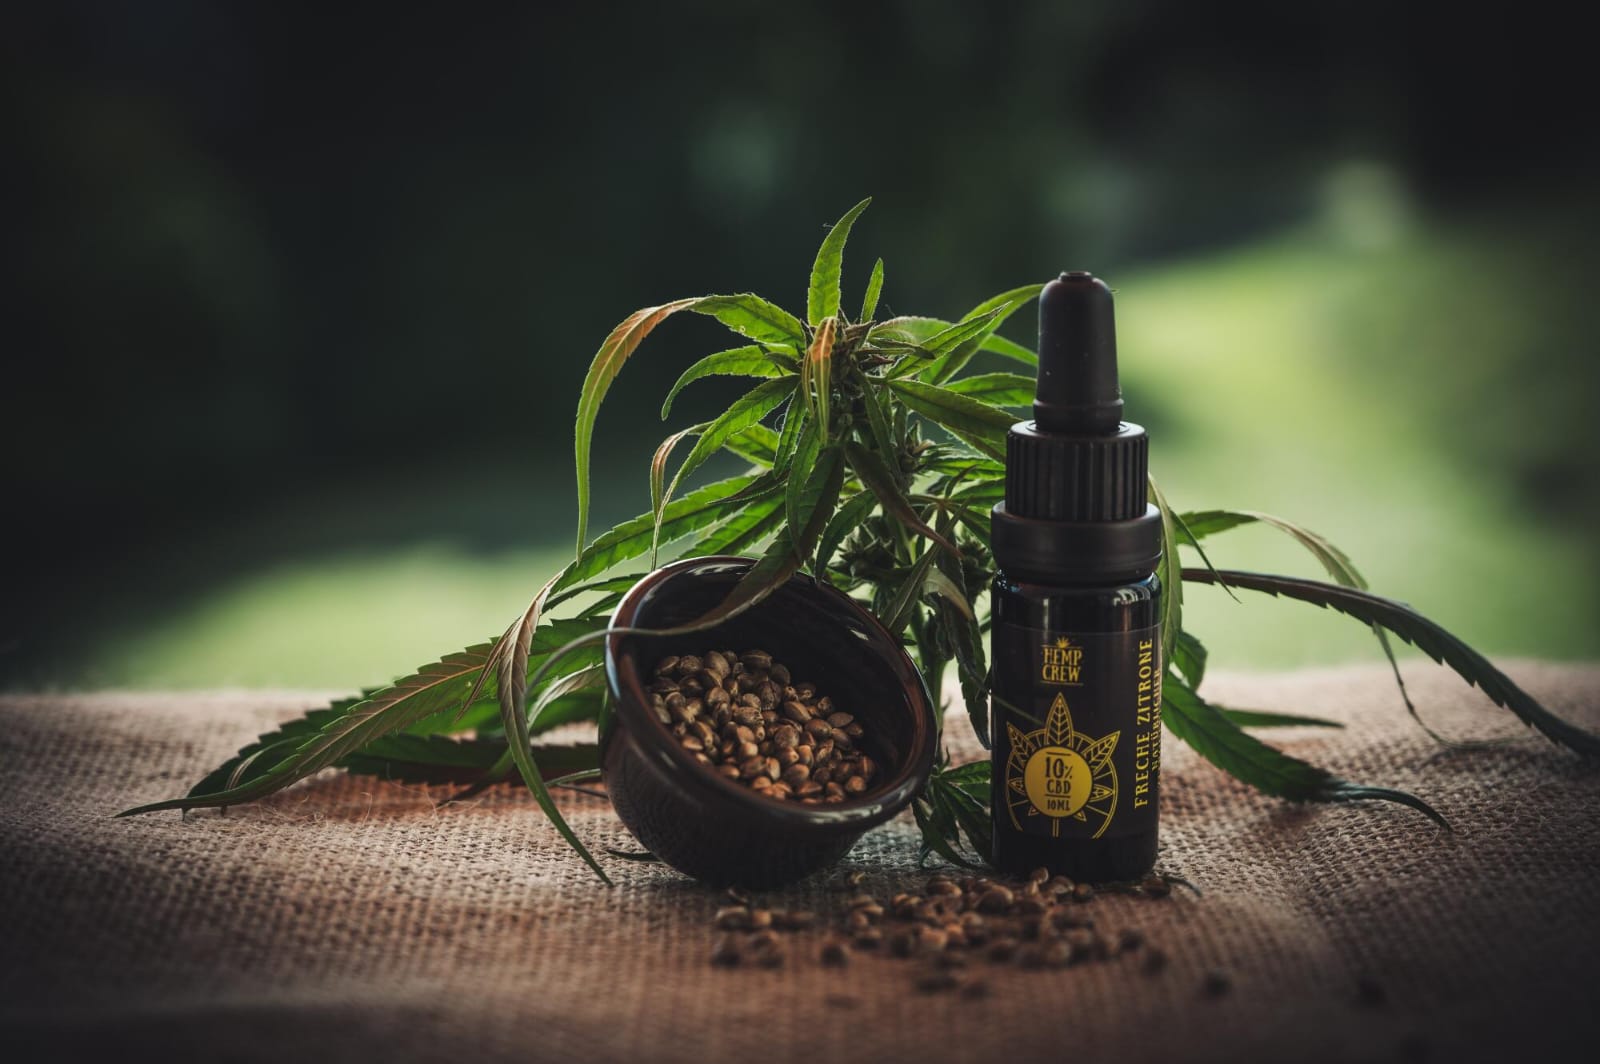
Cannabis concentrates are popular because they are strong and come in many forms. They appeal to both new users and experienced ones. Hence it’s important to know how to use them safely.
Concentrates are much stronger than regular cannabis and using them correctly can help you enjoy their full benefits. With the right approach, they can make you feel relaxed or boost your creativity.
Want to learn more about safe consumption? Keep reading the full article for tips and advice.
Understanding the Basics of Cannabis Concentrates
Cannabis concentrates are made by extracting powerful compounds like THC and CBD from the cannabis plant. There are different concentrate methods that create different types, such as wax, shatter, and oils.
It’s important to know which type you have because each one works differently. Concentrates are much stronger than a regular cannabis flower, so beginners should use small amounts to start.
Dosage Start Slow
When trying cannabis concentrates, it’s important to start with a low dose. Many users suggest starting with a small amount, about the size of a grain of rice. This is especially helpful if you’re not used to THC.
Starting with a small dose helps you understand your tolerance and avoid strong effects. Vaping and dabbing are common ways to use concentrates. Each method affects the body differently, so it’s important to adjust your dosage accordingly.
Vaping vs. Dabbing
Vaping is an easy way to use cannabis concentrates. You use a vaporizer to heat the concentrate and turn it into vapor. This method is simple and user-friendly.
Dabbing, on the other hand, uses a dabrig to inhale stronger vapor. It gives a more intense effect but is more complicated and needs extra equipment.
Safety Precautions
When consuming cannabis concentrates, prioritize safety. Start by ensuring your environment is comfortable and free from distractions. Use a reliable vaporizer or dab rig since poorly made equipment can lead to bad experiences. Moreover, always consume in moderation.
If you feel overwhelmed, take a break and ensure you hydrate adequately. Knowing when to stop is essential in managing your experience effectively.
Maximizing Your Experience
To truly maximize your time with cannabis concentrates, consider your setting and mindset. Create a relaxing environment that encourages enjoyment.
Pair your concentrates with activities you find stimulating or calming, depending on your desired experience. Whether you enjoy art, music, or simply chilling with friends, the right pairing can elevate your overall experience.
Additionally, if you’re looking for quality products, explore reputable vendors, like these shops that specialize in cannabis concentrates. Their knowledge and product range can enhance your understanding and enjoyment of concentrates.
Discover the Power of Cannabis Concentrates Safely
Using cannabis concentrates can be a fun and exciting way to enjoy cannabis. Start slow and learn the basics to make sure you have a good experience. Always pay attention to your body and be careful with how much you use.
With the right approach, you can safely enjoy the strong effects of cannabis concentrates. Want to know more about using them safely? Check out our blog for helpful tips and guides.

Ever wondered which cold therapy method packs a bigger punch—cold showers or cold plunges?
Athletes, biohackers, and wellness enthusiasts swear by cold exposure for its benefits, from boosted recovery to mental resilience. But which method delivers better results? And how do you choose the right one for your lifestyle?
In this deep dive, we’ll compare Cold Shower vs. Cold Plunge head-to-head, examining the science, benefits, and practical considerations. By the end, you’ll know exactly which icy ritual belongs in your routine.
Cold Showers vs. Cold Plunges: Key Differences
Before we weigh the pros and cons, let’s define each method:
-
Cold Shower: Standing under cold (50–60°F) water for 1–5 minutes.
-
Cold Plunge: Submerging your body (usually up to the neck) in icy water (40–55°F) for 1–10 minutes.
While both expose you to cold, the intensity and immersion level differ significantly.
The Science Behind Cold Exposure
Cold therapy triggers vasoconstriction (narrowing of blood vessels), reducing inflammation and flushing metabolic waste. It also spikes norepinephrine, a hormone linked to focus and mood.
Studies show cold exposure can:
✅ Reduce muscle soreness (1)
✅ Improve circulation (2)
✅ Boost mental resilience (3)
✅ Enhance immune response (4)
But does a cold shower deliver the same benefits as a full-body plunge?
Cold Showers: The Beginner-Friendly Option
Pros:
✔ Accessible – No special equipment needed.
✔ Gentler – Easier to tolerate for beginners.
✔ Convenient – Fits into daily showers.
Cons:
❌ Less intense – Limited full-body immersion.
❌ Shorter duration – Harder to stay in for long periods.
Best For:
-
Newcomers to cold therapy
-
People seeking a quick energy boost
-
Those with limited space or budget
Expert Tip: Start with 30 seconds of cold at the end of your shower and gradually increase.
Cold Plunges: The Ultimate Cold Therapy
Pros:
✔ Full-body immersion – More effective for recovery (5).
✔ Deeper cold exposure – Stronger metabolic and hormonal response.
✔ Customizable – Adjust temperature and duration.
Cons:
❌ Expensive – Requires a plunge tub or natural cold water source.
❌ Harder to tolerate – Not ideal for beginners.
Best For:
-
Athletes and serious recovery seekers
-
People with chronic inflammation
-
Those committed to long-term cold therapy
Expert Tip: Aim for 3–5 minutes at 50–55°F before progressing to colder temps.
Which One Wins?
| Factor | Cold Shower | Cold Plunge |
|---|---|---|
| Ease of Use | High | Moderate |
| Cost | Free | $100–$5,000+ |
| Effectiveness | Moderate | High |
| Recovery | Good | Excellent |
Verdict:
-
Choose cold showers if you want a simple, daily habit.
-
Opt for cold plunges if you’re serious about recovery and performance.
How to Get Started Safely
For Cold Showers:
-
Finish your normal shower with 30 seconds of cold.
-
Gradually increase to 2–5 minutes.
-
Breathe deeply to manage the shock.
For Cold Plunges:
-
Start with 50–55°F water for 1–2 minutes.
-
Use a timer to avoid overexposure.
-
Warm up naturally afterward (no hot showers immediately).
Warning: Avoid cold exposure if you have heart conditions or Raynaud’s disease.
Final Thoughts: Cold Shower vs. Cold Plunge
Both cold showers and cold plunges offer unique benefits. If you’re testing the waters (literally), start with showers. If you’re chasing peak performance, a cold plunge may be worth the investment.
The best choice? The one you’ll stick with consistently.
Now, over to you—will you brave the cold shower or take the full plunge?
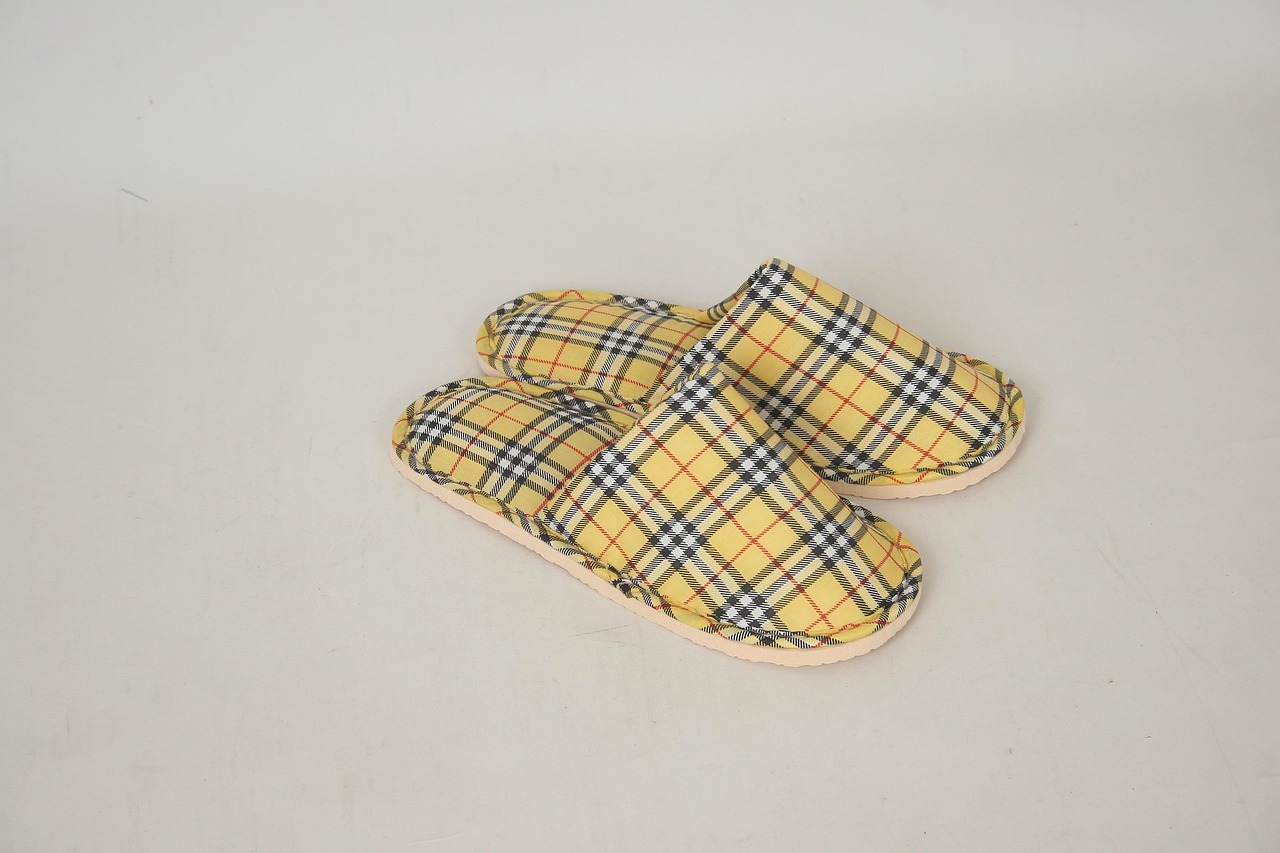
Do your feet ache the moment you step out of bed? If you suffer from plantar fasciitis, that sharp heel pain can make mornings miserable. But what if the right pair of slippers could ease your discomfort?
Plantar fasciitis slippers are designed to provide arch support, cushioning, and stability—key elements in relieving foot pain. But do they work? And how do you choose the best pair?
In this guide, we’ll break down:
✔ What makes plantar fasciitis slippers different
✔ Science-backed benefits (do they really help?)
✔ Top features to look for
✔ 5 best slippers for plantar fasciitis in 2024
✔ Expert tips for maximum relief
Let’s dive in.
What Are Plantar Fasciitis Slippers?
Unlike regular slippers, plantar fasciitis slippers are specially designed to:
-
Support the arch (reducing strain on the plantar fascia)
-
Cushion the heel (absorbing shock with every step)
-
Promote proper alignment (preventing overpronation)
Dr. Emily Splichal, a podiatrist and human movement specialist, explains:
“Plantar fasciitis slippers should mimic the support of orthopedic shoes. A contoured footbed and firm heel counter are essential to offload tension on the fascia.”
Who Needs Them?
-
People with chronic heel pain
-
Those recovering from plantar fasciitis
-
Individuals who stand or walk barefoot often
-
Postpartum women (due to relaxin hormone effects on ligaments)
Do Plantar Fasciitis Slippers Really Work?
Research says yes—with caveats.
A 2020 study in the Journal of Foot and Ankle Research found that firm arch support significantly reduces plantar fascia tension. Another study in Clinical Biomechanics showed that heel cushioning decreases impact forces by up to 20%.
But not all slippers are equal.
-
Cheap, flat slippers can worsen pain.
-
Overly soft memory foam lacks support.
-
Non-slip soles are crucial for stability.
Real-World Example:
Sarah, a nurse who spent 12-hour shifts on her feet, switched to supportive slippers at home. “Within two weeks, my morning heel pain dropped by 70%,” she reported.
5 Must-Have Features in Plantar Fasciitis Slippers
1. Firm Arch Support
-
Look for molded EVA or cork footbeds (not just soft foam).
-
Avoid flat slippers—they strain the plantar fascia.
2. Deep Heel Cup
-
Cradles the heel to reduce impact.
-
Prevents lateral instability.
3. Adjustable Straps
-
Ensures a snug fit (loose slippers cause friction).
-
Helpful for swollen feet.
4. Rigid Outsole
-
A slightly stiff sole prevents excessive flexing.
-
Rubber treads prevent slips.
5. Breathable Materials
-
Mesh or leather uppers reduce sweat.
-
Moisture-wicking liners prevent bacteria buildup.
5 Best Plantar Fasciitis Slippers of 2024
1. Oofos OOahh Slide
✅ Podiatrist-recommended
✅ Dual-density foam absorbs shock
✅ Machine washable
Best for: Recovery after workouts
2. Vionic Relax Slipper
✅ Orthotic arch support
✅ Fleece-lined for warmth
✅ APMA-approved
Best for: Cold climates
3. Crocs Classic Clog
✅ Roomy toe box
✅ Cushioned Croslite foam
✅ Easy to clean
Best for: Indoor/outdoor use
4. Hoka Ora Recovery Slide
✅ Meta-Rocker sole reduces strain
✅ Thick midsole cushioning
✅ Lightweight
Best for: Severe heel pain
5. OrthoFeet Asheville Slipper
✅ Adjustable straps
✅ Non-binding design
✅ Wide widths available
Best for: Diabetic neuropathy
Expert Tips to Maximize Relief
-
Wear them immediately after waking (when fascia is tightest).
-
Pair with stretching (calf raises, towel stretches).
-
Replace every 6–12 months (cushioning wears out).
-
Avoid going barefoot (even at home).
Dr. Markinson, NY-based podiatrist, advises:
“Think of plantar fasciitis slippers as a bridge between shoes and barefoot walking. They’re not a cure but a critical part of pain management.”
Final Verdict: Are They Worth It?
If you battle heel pain, morning stiffness, or arch fatigue, plantar fasciitis slippers can be a game-changer. The key is choosing structured support over flimsy fashion slippers.
Try this: Wear supportive slippers for 2 weeks straight (especially first thing in the morning). Track your pain levels—many users report noticeable improvement in that time.

Introduction
Picture this: You’re rushing home after a long day, and the aroma of golden-brown rotisserie chicken fills the air. It’s juicy, convenient, and seemingly healthy—but how many calories are you actually consuming? And what about protein, fat, and serving sizes?
Rotisserie chicken is a go-to meal for busy families, fitness enthusiasts, and health-conscious eaters. But not all chickens are created equal. Depending on seasoning, cooking methods, and portion size, the nutritional value can vary.
In this guide, we’ll break down rotisserie chicken calories per gram, compare different types (plain vs. seasoned), and provide expert-backed tips for making the healthiest choice.
Rotisserie Chicken Nutrition: Calories & Macros
1. Calories in Rotisserie Chicken (Per 100g & Per Serving)
A typical rotisserie chicken (without skin) contains roughly:
-
165–170 calories per 100g (about 3.5 oz)
-
31g protein
-
3.6g fat
-
0g carbs
However, with skin, the numbers change:
-
237–250 calories per 100g
-
23g protein
-
15g fat
Why the difference? The skin adds extra fat and calories—about 50–80 more calories per 100g.
2. Breaking Down a Whole Rotisserie Chicken
An average rotisserie chicken weighs 2–3 lbs (900–1,360g) and yields:
-
Breast (skinless): 284 calories, 53g protein, 6g fat (per ½ breast)
-
Thigh (skinless): 209 calories, 26g protein, 10g fat
-
Drumstick (skinless): 172 calories, 28g protein, 6g fat
-
Wing (with skin): 126 calories, 11g protein, 8g fat
Pro Tip: Removing the skin cuts calories by 20–30%, making it a leaner protein source.
Does Brand Matter? Comparing Store-Bought Rotisserie Chickens
Not all rotisserie chickens are equal. Some stores inject brine (saltwater solution) for juiciness, increasing sodium content. Here’s a quick comparison:
| Brand/Store | Calories (per 100g, no skin) | Sodium (mg per serving) |
|---|---|---|
| Costco | 170 | 460mg |
| Walmart | 165 | 510mg |
| Whole Foods | 160 | 380mg |
Key Takeaway: If you’re watching sodium, opt for organic or low-sodium options.
Rotisserie Chicken vs. Homemade: Which Is Healthier?
Store-bought rotisserie chicken is convenient, but homemade lets you control ingredients.
Pros of Store-Bought:
✅ Ready-to-eat, time-saving
✅ Consistent flavor
✅ Often cheaper than raw whole chicken
Cons of Store-Bought:
❌ Higher sodium (from brining)
❌ Possible additives (preservatives, MSG)
❌ Skin is often oil-basted
Healthier Alternative:
-
Buy a plain rotisserie chicken, remove the skin, and season at home with herbs.
-
Make your own in an air fryer or slow cooker for lower sodium.
How to Use Rotisserie Chicken for Weight Loss & Muscle Gain
For Weight Loss:
-
Remove the skin to save ~80 calories per serving.
-
Pair with veggies (salads, stir-fries) for fiber.
-
Avoid creamy sauces (ranch, gravy) that add empty calories.
For Muscle Gain:
-
Eat the skin for extra calories (if bulking).
-
Combine with complex carbs (brown rice, quinoa).
-
Meal prep shredded chicken for high-protein lunches.
Real-World Example:
A fitness influencer eats rotisserie chicken + sweet potatoes + broccoli post-workout for a balanced 400-calorie meal.
Common Myths About Rotisserie Chicken
Myth 1: “It’s Always Healthier Than Fried Chicken.”
✅ True if skinless—but some rotisserie chickens are basted in oil, making them similar in fat to fried chicken.
Myth 2: “All Rotisserie Chickens Are High in Protein.”
✅ Mostly true, but brined chickens may have slightly less protein per gram due to water retention.
Myth 3: “Organic Rotisserie Chicken Is Always Better.”
✅ Organic = fewer additives, but check sodium levels—some are still high.
Final Verdict: Is Rotisserie Chicken Good for You?
Yes—if you choose wisely! Here’s how:
✔ Pick skinless portions to save calories.
✔ Compare sodium levels (aim for <500mg per serving).
✔ Use leftovers creatively (soups, tacos, salads).
Rotisserie Chicken Calories & Grams is a nutrient-dense, high-protein option—perfect for quick meals without sacrificing health.
Your Next Step: Smart Rotisserie Chicken Hacks
-
Shred & Freeze for easy meal prep.
-
Make Bone Broth with the carcass for extra nutrients.
-
DIY Seasoning to control salt and flavor.
Now that you know the calories, grams, and best practices, you can enjoy rotisserie chicken guilt-free!
-

 Articles3 months ago
How Many Times Can You Regrow Green Onions
-

 News11 months ago
Understanding HotLeaks: What You Need to Know
-

 Fashion8 months ago
Opals in the USA: A Gemstone Transforming the Crystal Healing Market
-

 Entertainment8 months ago
How to Use Snaptik: A Complete Guide to Download TikTok Videos
-

 Technology1 year ago
The Wonders of Oh Em Gee Blog
-

 Entertainment1 year ago
Bare it All: Unforgettable Skinny Dipping Stories Shared
-
 Health1 year ago
Can You Smoke Shrooms? Exploring the Myths and Realities
-

 Articles5 months ago
WHAT IS THE DIFFERENCE BETWEEN SEED GARLIC AND FOOD GARLIC?