Introduction
When it comes to maintaining and repairing vehicles, you might encounter various tools and components that are essential for the job. One such tool is the tire socket. But what exactly is a tire socket, and why is it important? This article will delve into the details of tire sockets, including their functions, types, and how they contribute to vehicle maintenance.
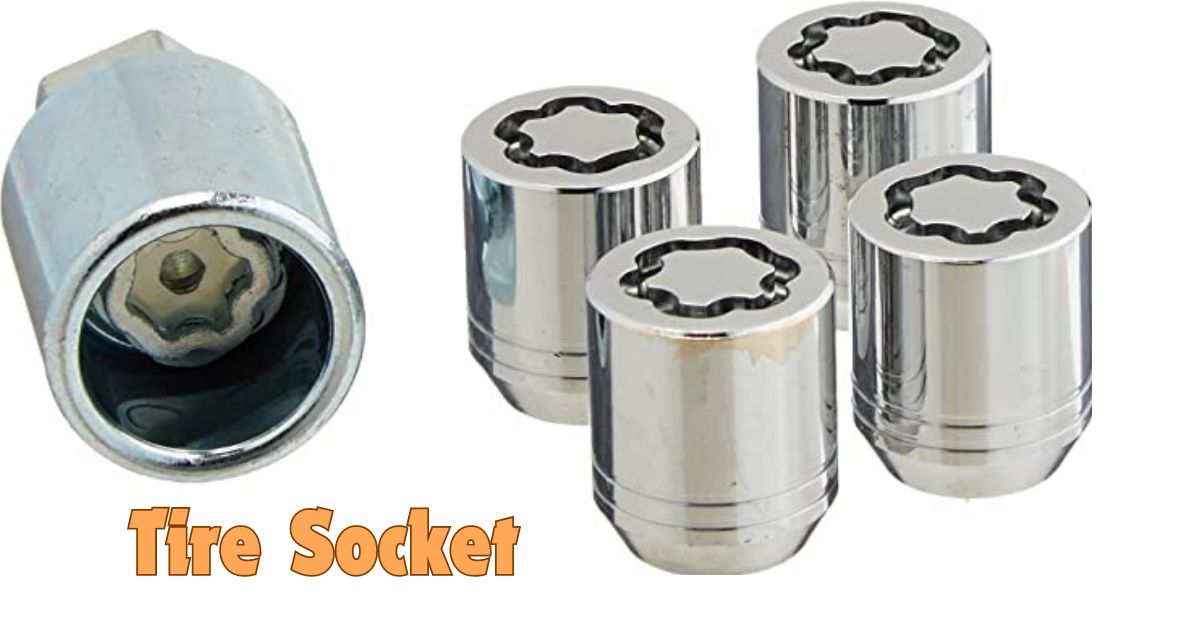
What Is a Tire Socket?
Definition and Purpose
A tire socket, often referred to as a wheel socket, is a specialized tool used to remove or tighten the lug nuts that secure a tire to a vehicle’s wheel hub. It fits onto the end of a wrench or impact gun, allowing for efficient application of torque. Without the right tire socket, changing a tire or performing wheel maintenance could become a cumbersome task.
How It Works
The tire socket fits snugly over the lug nut, providing a grip that allows you to turn it either clockwise or counterclockwise. When attached to a wrench, it translates the wrench’s rotational force into the lug nut, effectively loosening or tightening it. The precision and fit of the tire socket are crucial for ensuring that lug nuts are neither too loose nor too tight.
Types of Tire Sockets
Standard vs. Deep Sockets
- Standard Tire Sockets: These are shorter in length and are typically used for standard lug nuts where the nut is easily accessible. They are ideal for quick tire changes and everyday maintenance.
- Deep Tire Sockets: These are longer and designed to reach lug nuts that are recessed or have additional components around them. Deep sockets are useful for vehicles with recessed wheel hubs or for situations where extra reach is necessary.
Impact Sockets
Impact sockets are made from heavy-duty materials and designed to withstand the high torque produced by impact wrenches. They have a tougher build compared to standard sockets, which makes them suitable for professional use and high-torque applications.
Magnetic vs. Non-Magnetic Sockets
- Magnetic Tire Sockets: These feature a magnet inside that helps to hold the lug nut in place during installation or removal. This can be especially useful when dealing with multiple lug nuts or when working in tight spaces.
- Non-Magnetic Tire Sockets: These do not have a magnetic feature and rely solely on the fit and grip of the socket to handle lug nuts. They are widely used and are often sufficient for most standard tasks.
Choosing the Right Tire Socket
Size and Fit
The most critical factor in choosing a tire socket is ensuring the correct size. Tire sockets come in various sizes to match different lug nut sizes, typically measured in either inches or millimeters. Using the wrong size can lead to stripped lug nuts or damaged sockets.
Material and Durability
Tire sockets are usually made from chrome vanadium steel or other hardened materials. For heavy-duty applications, such as those involving impact wrenches, it’s essential to select sockets made from high-strength materials to ensure durability and longevity.
Compatibility with Tools
Consider the type of tool you’ll be using with the tire socket. Sockets come in different drive sizes (e.g., 1/2-inch, 3/8-inch), so make sure that the socket you choose matches the drive size of your wrench or impact gun.
How to Use a Tire Socket
Proper Technique for Removing Lug Nuts
- Loosen the Lug Nuts: Start by placing the tire socket onto the lug nut and turning it counterclockwise. If the lug nuts are particularly tight, you may need to use a breaker bar or impact wrench to loosen them.
- Remove the Lug Nuts: Once loosened, continue to turn the socket until the lug nuts are removed. Keep the lug nuts in a safe place as you’ll need them to install the tire back on.
Proper Technique for Tightening Lug Nuts
- Align the Tire: Place the tire onto the wheel hub and align the lug nuts with the bolts.
- Hand-Tighten the Lug Nuts: Use the tire socket to hand-tighten each lug nut. Ensure that the nuts are evenly tightened to avoid warping the wheel or damaging the hub.
- Torque to Specifications: Use a torque wrench to tighten the lug nuts to the manufacturer’s specifications. This ensures that the nuts are neither too loose nor too tight, which is crucial for safety.
Maintenance and Care for Tire Sockets
Cleaning and Storage
Keep your tire sockets clean and free from debris. After use, wipe them down to remove any dirt or grime. Store them in a dry, cool place to prevent rust and damage.
Regular Inspection
Inspect tire sockets regularly for any signs of wear or damage. Replace any sockets that show cracks or significant wear to ensure safe and effective use.
Common Problems and Solutions
Stripped Lug Nuts
If a lug nut is stripped, it may be difficult to remove or tighten. In such cases, you might need a lug nut remover tool or a different socket size to address the issue.
Socket Slipping
If the socket slips off the lug nut, it may not be the correct size or the socket may be worn out. Ensure that you are using the right size and inspect the socket for damage.
Conclusion
Understanding what a tire socket is and how to use it properly can make vehicle maintenance much easier and safer. Whether you are a DIY enthusiast or a professional mechanic, having the right tiresocket and knowing how to use it correctly is essential for efficient tire changes and maintenance. By choosing the right type, maintaining it well, and using it correctly, you ensure that your vehicle remains in top condition and safe to drive.
FAQs
- What is the difference between a standard and deep tire socket?
- A standard tire socket is shorter and designed for easily accessible lug nuts, while a deep tiresocket is longer and can reach lug nuts that are recessed or difficult to access.
- Can I use a tire socket with an impact wrench?
- Yes, but make sure you use an impact socket, as it is designed to handle the high torque of an impact wrench without breaking.
- How do I know if I have the right size tire socket?
- Check the size of your lug nuts and match it with the size of the tiresocket. Using a socket that fits snugly over the lug nut ensures effective removal and tightening.
- How should I maintain my tire socket?
- Keep your tiresocket clean, inspect it regularly for damage, and store it in a dry place to prevent rust and wear.
- What should I do if my tire socket slips off the lug nut?
- Ensure you are using the correct size socket and check for any damage or wear. If necessary, try a different socket size or replace the worn-out socket.


