Key Takeaways
- Discover the exciting new trends in automotive styling.
- Learn about how advanced technologies are reshaping car aesthetics.
- Explore the benefits of keeping your vehicle’s appearance updated.
Table of Contents
- Introduction to Automotive Styling
- Tips for Maintaining Style
- Current Automotive Styling Trends
- The Role of Technology in Styling
- Benefits of Updating Vehicle Aesthetics
- Sustainable Styling Practices
- What the Future Holds for Vehicle Design
Introduction to Automotive Styling
Automotive styling has elevated cars from merely functional objects to extensions of personal identity and taste. As vehicles, cars were once viewed purely for their utilitarian value. However, the emphasis has shifted in recent decades toward personal expression and technology integration, facilitating a deeper interaction with our vehicles. This shift is evident in enhancements like custom paint jobs, film wraps, and even subtle upgrades such as a ceramic coating for cars in Kennesaw, GA. These improvements are not just about appearance; they speak volumes about advancements in material science, paint technology, and industry innovation.
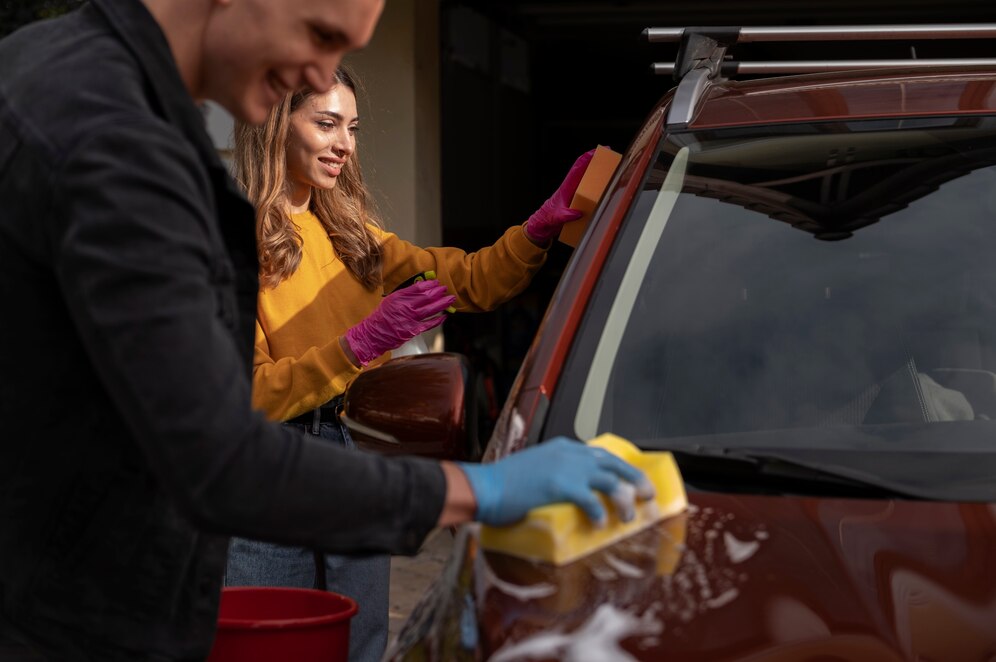
Tips for Maintaining Style
- Regular cleaning and waxing are vital. A maintained exterior, with the help of an automotive ceramic coating near me, removes environmental elements like dust and grime, preserves paint, and reduces corrosion risks.
- Periodic inspections ensure that minor scratches and dents don’t develop into eyesores. Professional treatments, like wax applications, further protect against harmful UV rays.
- Stay in sync with current trends. Awareness of evolving styles ensures relevance and uniqueness, lending an edge when upgrading, selling, or simply enjoying a drive.
Automotive styling remains an exciting intersection of technology, fashion, and personal expression. It offers endless possibilities, from the simplicity of a ceramic coating to the potential of AI-driven personalization. Keeping a vehicle updated on these trends enhances its aesthetic and intrinsic value, providing lasting enjoyment and appreciation in every journey.
Current Automotive Styling Trends
The automotive industry, constantly at the forefront of innovation, regularly introduces trends that capture the imagination of car enthusiasts worldwide. Matte finishes have emerged as a favorite among drivers looking for sleek simplicity, while metallic flake paints offer an eye-catching shimmer that stands out in any setting. Additionally, color-blocking allows for daring combinations, facilitating a more personalized style catering to bold or more conservative tastes. Blackout trim packages have evolved from a niche preference to mainstream popularity, offering a unified monochrome modern and timeless look. These trends highlight the industry’s response to consumer demand for personalization and premium aesthetics. Mainstream brands are listening, tailoring their offerings to reflect better taste and individuality.
The Role of Technology in Styling
Automotive styling is increasingly intertwined with technological advancements. Materials science has revolutionized, with manufacturers regularly employing newer, lighter, stronger, and aesthetically versatile materials. 3D printing, once a futuristic concept, now provides endless possibilities in car design, allowing bespoke components tailored to individual customer preferences. This technology brings cost efficiencies and lowers environmental impact, promoting sustainability in manufacturing processes. Additionally, adaptive LED lighting enhances visibility and makes a profound stylistic statement, adding a touch of the future to vehicle design. Advances in smart glass technology, which can adjust opacity based on sunlight exposure, add another layer of sophistication to modern automobile aesthetics.
Benefits of Updating Vehicle Aesthetics
The reasons for keeping a vehicle’s appearance up-to-date extend far beyond superficial beauty. A carefully cared for and fashionable vehicle typically enjoys enhanced aerodynamics, resulting in better fuel efficiency and decreased environmental effects. Pragmatically, an attractive car is usually easier to sell at a premium. But first impressions matter when potential buyers evaluate options. However, the benefits are not solely financial. Personal psychological rewards are significant as well. Drivers often report greater satisfaction and pride in ownership, boosting their mood and enhancing their driving experience. This blend of financial and personal incentives drives many to continuously invest in their vehicles’ appearances, ensuring their cars reflect their style and status.
Sustainable Styling Practices
As knowledge of environmental concerns increases, sustainable approaches in automotive design are a top priority. While traditional methods relied heavily on resource-intensive processes, the industry now embraces greener alternatives. Manufacturers increasingly turn to water-based paints and renewable materials for car interiors, reducing toxic emissions and emphasizing recyclability. The extensive use of renewable and reusable components minimizes a car’s environmental footprint. Leading car manufacturers are pioneering eco-friendly initiatives that promise a greener and more sustainable future for automotive design.
What the Future Holds for Vehicle Design
The horizon is bright for the future of automotive styling as cars evolve into smart machines. The advent of autonomous technology will radically redefine not just how cars function but also how they look. Interior designs will shift towards creating luxurious, lounge-like spaces that offer comfort and entertainment during travel. Outside, innovations like augmented reality will soon allow customizable digital paint jobs that change with user commands. Artificial intelligence is set to facilitate real-time customization, perfecting even the most minor styling elements to fit personal profiles and preferences.


