Technology
The Metalworkers Renaissance: Craftsmanship in the Modern Age

In an age dominated by mass production and digital automation, a quiet yet powerful revolution is taking place: the metalworkers renaissance. This resurgence of interest in metalworking is not just a nod to tradition but a bold reimagining of what this ancient craft can achieve in the modern world. From bespoke jewelry to architectural marvels, metalworkers are pushing boundaries, blending age-old techniques with cutting-edge technology.
In this article, we’ll explore the driving forces behind this revival, the tools and techniques shaping it, and how you can be part of this exciting movement. Whether you’re a seasoned artisan or a curious beginner, this guide is packed with actionable insights to inspire and empower you.
Why the Metalworkers Renaissance Matters
Metalworking is one of humanity’s oldest crafts, dating back to the Bronze Age. For centuries, it has been the backbone of civilizations, shaping everything from tools to art. However, the industrial revolution and the rise of synthetic materials led to a decline in traditional craftsmanship.
Today, the metalworkers renaissance is reclaiming this heritage. Here’s why it matters:
- Sustainability: Handcrafted metalwork often uses recycled materials, reducing waste and environmental impact.
- Uniqueness: In a world of mass-produced goods, handmade metal pieces stand out for their individuality and artistry.
- Cultural Preservation: This revival keeps ancient techniques alive, ensuring they’re passed down to future generations.
- Economic Opportunity: The demand for custom metalwork is growing, creating new avenues for artisans and small businesses.
The Tools Driving the Metalworkers Renaissance
Modern metalworkers are leveraging a mix of traditional tools and advanced technology to create stunning works of art. Here’s a breakdown of the key tools shaping this movement:
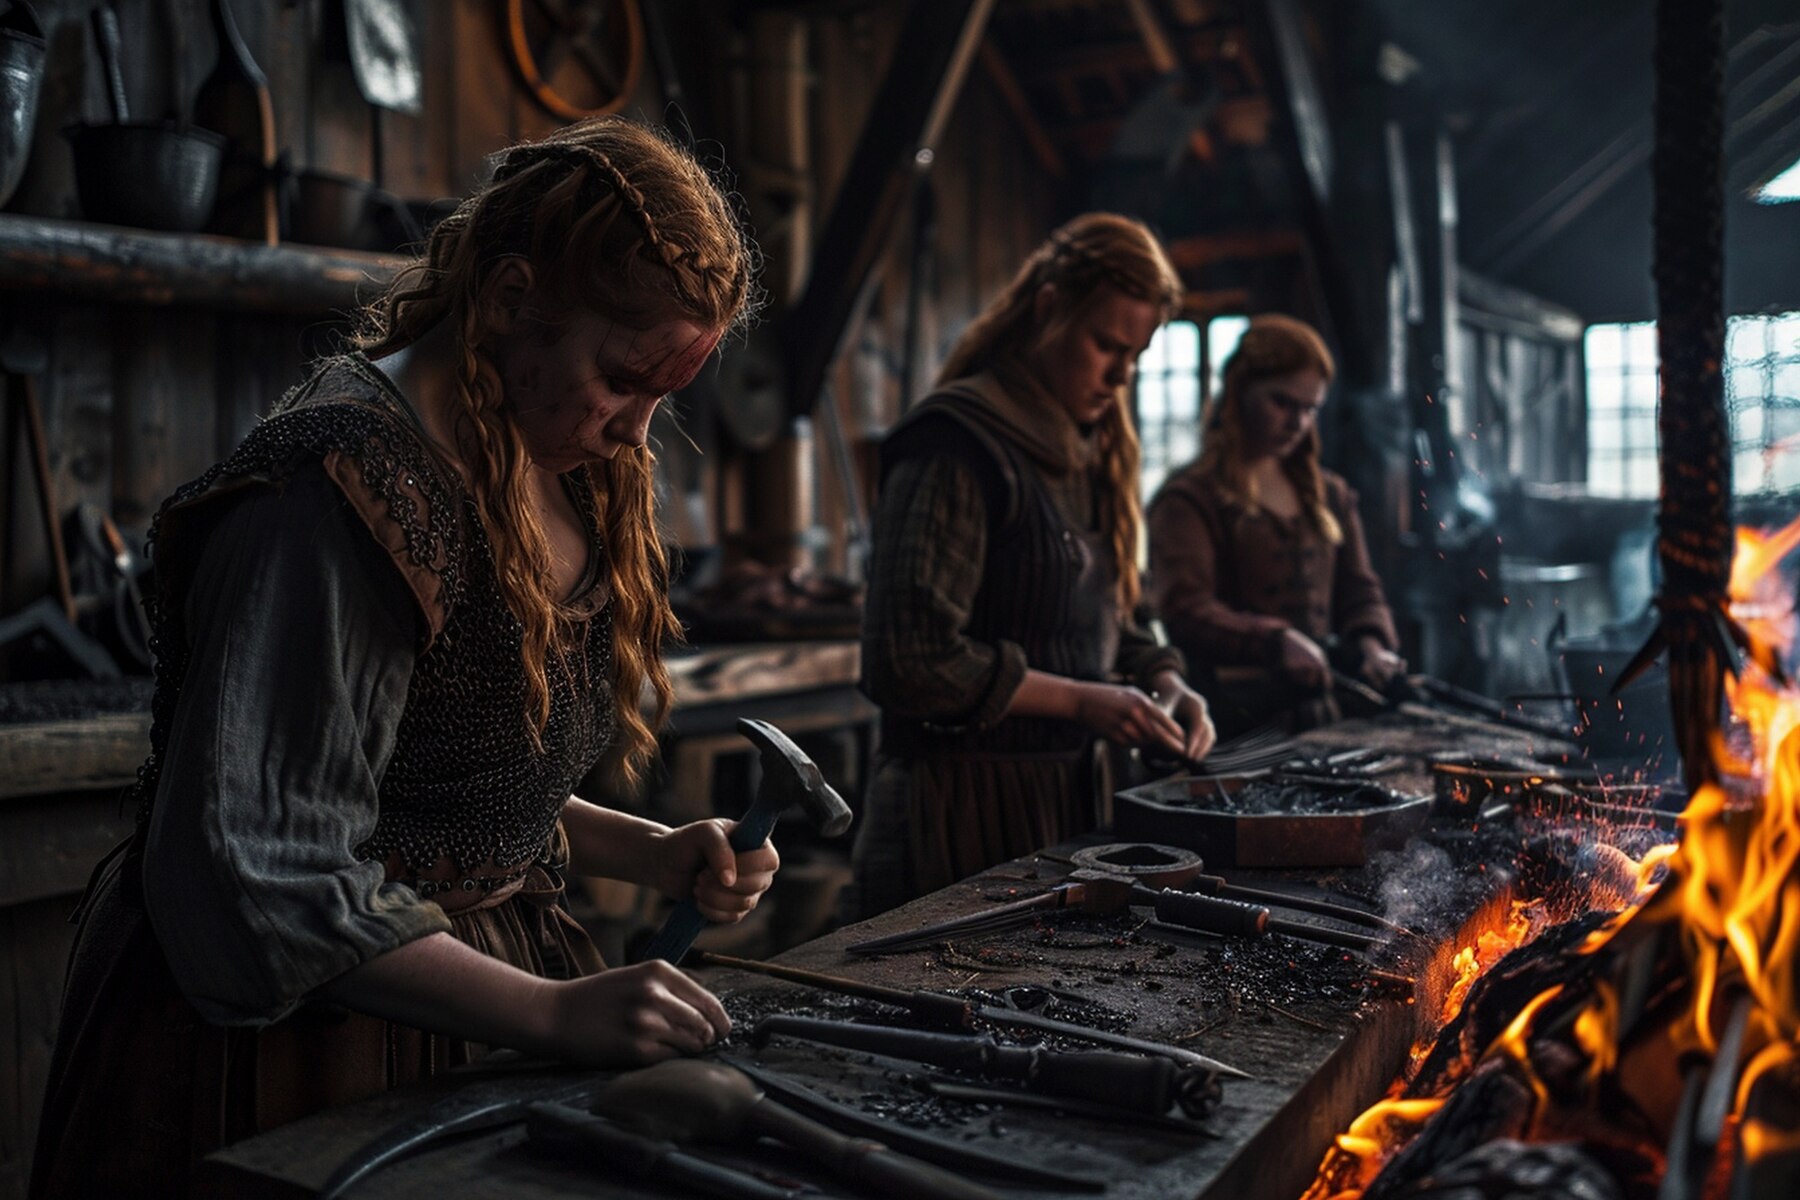
Traditional Tools
- Anvils and Hammers: The backbone of any metalworker’s toolkit, used for shaping and forging.
- Chisels and Punches: Essential for detailed engraving and texturing.
- Forge and Tongs: For heating and manipulating metal.
Modern Innovations
- 3D Printing: Allows for precise prototyping and intricate designs.
- Laser Cutters: Enable clean, precise cuts for complex patterns.
- CNC Machines: Automate repetitive tasks, freeing up time for creative work.
- CAD Software: Helps designers visualize and refine their ideas before execution.
Techniques Shaping the Future of Metalworking
The metalworkers renaissance is not just about tools; it’s also about innovative techniques. Here are some of the most exciting trends:
- Mixed Media Artistry: Combining metal with glass, wood, or ceramics to create multidimensional pieces.
- Patina Finishes: Using chemicals to create unique, aged textures and colors.
- Micro-Welding: Perfect for delicate, intricate designs in jewelry and small-scale art.
- Eco-Metalworking: Using sustainable practices, such as solar-powered forges and recycled materials.
Case Study: The Rise of Bespoke Metal Art
One of the most compelling examples of the metalworkers renaissance is the rise of bespoke metal art. Take, for instance, the story of Iron & Oak Studio, a small workshop in Portland, Oregon.
- Challenge: Competing with mass-produced home decor.
- Solution: Focused on custom, hand-forged metal pieces with a rustic, artisanal appeal.
- Result: Within two years, the studio saw a 300% increase in sales, thanks to its unique offerings and strong online presence.
This case study highlights the power of combining traditional craftsmanship with modern marketing strategies.
How to Join the Metalworkers Renaissance
Ready to be part of this exciting movement? Here’s how to get started:
- Learn the Basics: Enroll in a local metalworking class or online course.
- Invest in Quality Tools: Start with the essentials and gradually expand your toolkit.
- Experiment with Techniques: Don’t be afraid to mix traditional and modern methods.
- Build Your Brand: Use social media and e-commerce platforms to showcase your work.
- Network with Other Artisans: Join forums, attend workshops, and collaborate on projects.
Infographic: Traditional vs. Modern Metalworking
Traditional Metalworking
- Hand-forged
- Time-intensive
- Limited by manual precision
Modern Metalworking
- Combines handcrafting with technology
- Faster production times
- Enhanced precision and complexity
Conclusion: Be Part of the Metalworkers Renaissance
The metalworkers renaissance is more than a trend; it’s a testament to the enduring appeal of handmade craftsmanship in a digital age. By blending tradition with innovation, today’s metalworkers are creating pieces that are not only beautiful but also meaningful.
Whether you’re an aspiring artisan or a seasoned professional, there’s never been a better time to explore this craft. Start small, experiment boldly, and let your creativity shine.
Technology
ecvh0 dforce master how to: Unlock Its Benefits

Introduction
Struggling with ecvh0 dforce master setup? You’re not alone. Many users find its configuration tricky, but mastering it unlocks powerful automation and efficiency. This guide breaks down the process into simple steps, helping you harness its full potential quickly.
Why It Matters
Properly setting up ecvh0 dforce master ensures smoother workflows, reduces errors, and maximizes productivity. Whether for personal projects or enterprise use, mastering this tool can save hours of manual work.
Step-by-Step Guide
1. Install & Configure
- Download the latest ecvh0 dforce master package from the official site.
- Follow the installation wizard, ensuring all dependencies are met.
2. Set Up Permissions
- Assign appropriate user roles (admin, editor, viewer).
- Configure access controls to prevent unauthorized changes.
3. Integrate with Your System
- Connect ecvh0 dforcemaster to your existing tools via API.
- Test the connection to ensure seamless data flow.
4. Automate Key Tasks
- Use built-in templates or create custom automation rules.
- Schedule recurring tasks to minimize manual input.
5. Monitor & Optimize
- Track performance metrics in the dashboard.
- Adjust settings for better speed and efficiency.
Pro Tip
Use keyboard shortcuts to navigate ecvh0 dforcemaster faster. Press
Ctrl + K
(Windows) orCmd + K
(Mac) to open the command palette for quick actions.
Conclusion
Mastering ecvh0 dforce master simplifies complex tasks and boosts efficiency. By following these steps, you’ll optimize your workflow and get the most out of this powerful tool.
FAQ
Is ecvh0 dforcemaster free?
It offers a free tier with limited features; advanced options require a subscription.
Can I use it offline?
Some features work offline, but full functionality requires an internet connection.
How secure is ecvh0 dforcemaster?
It uses encryption and role-based access for security. For best practices, check our security guide.
Technology
How to Disassemble a Sony KV-27S42 CRT TV: Complete Guide

Introduction
The Sony KV-27S42 is a classic CRT television, and while it’s no longer in production, many enthusiasts still repair, modify, or salvage these sets. However, disassembling a CRT TV requires caution—high-voltage components and delicate electronics mean one wrong move could be dangerous.
This guide will walk you through the full disassembly process of the KV-27S42, covering:
Safety precautions (CRT discharge, avoiding shocks)
Tool requirements (what you’ll need)
Step-by-step teardown (removing the case, tube, and boards)
Salvaging useful parts (what to keep or discard)
Reassembly tips (if needed)
Whether you’re repairing, modding, or recycling, this guide ensures you do it safely and efficiently.
Why Disassemble a KV-27S42?
Before diving in, it’s worth understanding why you might need to take apart this TV:
Repairs – Fixing power supply issues, bad capacitors, or video problems.
Modifications – RGB or component video mods for retro gaming.
Salvage – Reusing the CRT, speakers, or other parts for projects.
Safe Disposal – CRTs contain hazardous materials (lead, phosphors) and must be recycled properly.
Warning:
CRTs hold high voltage even when unplugged – improper handling can result in severe electric shock.
The tube is heavy and fragile – dropping it can cause implosion or injury.
Tools & Safety Gear You’ll Need
Before starting, gather these essentials:
Essential Tools
Screwdrivers (Phillips & flathead)
CRT discharge tool (or insulated screwdriver + wire)
Needle-nose pliers (for small connectors)
Anti-static wrist strap (optional but recommended)
Safety Precautions
Work in a dry, well-lit area
Discharge the CRT before touching anything
Wear gloves & safety glasses (glass shards are sharp)
Keep pets/kids away (CRTs are dangerous when mishandled)
Step-by-Step Disassembly Guide
Step 1: Unplug & Discharge the CRT
- Unplug the TV and wait at least 30 minutes for capacitors to discharge.
- Locate the anode cap (the large rubber suction cup on the CRT).
- Discharge the CRT:
- Use a CRT discharge tool (best option).
- Alternative: Clip one end of a wire to the TV’s metal frame and carefully slide a flathead screwdriver under the anode cap until you hear/see a small spark.
Step 2: Remove the Rear Cover
- Flip the TV face-down on a soft surface (blanket/towel).
- Remove all rear screws (some may be hidden under stickers).
- Gently pry the back cover off—plastic tabs may hold it in place.
Step 3: Disconnect Internal Cables
- Take photos of all connections before unplugging anything.
- Unplug:
- Deflection yoke (two large plugs near the tube neck)
- Anode cap (already discharged, but still be careful)
- Speaker wires & control board connectors
Step 4: Remove the CRT Tube
- Unscrew the 4 CRT mounting brackets (they hold the tube to the frame).
- Carefully lift the tube out – it’s extremely heavy (get help if needed).
- Set it face-down on a soft surface to avoid scratches.
Step 5: Extract Circuit Boards & Other Components
- Mainboard – Remove screws and gently lift it out.
- Power supply – Disconnect all wires before removing.
- Speakers & tuner – Useful for retro projects if salvaging.
Pro Tips for Safe Disassembly
Label every wire and screw (masking tape + marker) to avoid confusion later.
Use a magnetic tray to keep screws organized.
If keeping the CRT, store it upright to avoid stress on the glass.
What Can You Salvage?
If you’re parting out the TV, these components are useful:
CRT tube – Great for arcade builds or replacements.
Speakers – Decent quality for DIY audio projects.
Power supply & mainboard – Useful for electronics tinkering.
Control knobs & buttons – Handy for retro mods.
How to Dispose of a CRT Safely
CRTs contain leaded glass and toxic phosphors, so never throw them in the trash. Instead:
Check local e-waste recycling centers (many accept CRTs for free).
Contact electronics repair shops – Some may take old TVs.
Look for CRT buyback programs (some collectors pay for working tubes).
Conclusion: How to Disassemble a Sony KV-27S42 CRT TV
How to Disassemble a Sony KV-27S42 CRT TV, requires patience and safety awareness, but it’s a rewarding project for retro tech enthusiasts. Whether you’re fixing, modding, or salvaging, following this guide ensures a smooth process.
FAQ About How to Disassemble a Sony KV-27S42 CRT TV
1. Can I get shocked if the TV has been unplugged for days?
Yes! CRTs can hold charge for weeks. Always discharge before working.
2. How heavy is the KV-27S42 CRT?
Around 50-60 lbs (23-27 kg)—lift carefully or get help.
3. Can I reuse the CRT in another TV?
Possibly, but tube swaps require matching specs (size, impedance, etc.).
4. What if I break the CRT?
The glass is under vacuum—if it cracks, it can implode. Wear safety gear!
5. Is it worth repairing a KV-27S42?
If you love CRTs, yes! These Sonys have great picture quality for retro gaming.
Technology
How Much Does Window Tinting Cost? Save Money, Boost Comfort

Introduction
Window tinting costs can vary widely, leaving many car owners unsure about fair pricing. Whether you want UV protection, privacy, or heat reduction, understanding the factors that influence cost helps you budget wisely. This guide breaks down pricing, so you get the best value without surprises.
Why It Matters
Window tinting isn’t just about style—it blocks harmful UV rays, reduces glare, and keeps your car cooler. But overpaying or choosing cheap options can lead to poor quality. Knowing the average costs ensures you invest in a tint that lasts and performs well.
Step-by-Step Guide to Window Tinting Costs
1. Understand the Pricing Factors
- Film Quality: Basic dyed film starts at 50–150, while premium ceramic tints run 200–800.
- Vehicle Size: Smaller cars cost less (100–300) vs. SUVs (200–600).
- Number of Windows: Full-car tinting costs more than just side windows.
2. Compare Film Types
- Dyed Film (50–150): Affordable but fades faster.
- Carbon Film (150–350): Better heat rejection, matte finish.
- Ceramic Film (200–800): Top-tier heat/UV protection, no signal interference.
3. Factor in Labor Costs
Professional installation adds 50–200, depending on complexity. DIY kits (20–100) are cheaper but risk bubbles/peeling.
4. Check Local Market Prices
Urban areas often charge more. Get 3+ quotes to avoid overpaying.
5. Consider Legal Limits
Some states restrict tint darkness (e.g., California bans <70% VLT on front windows). Non-compliant tints may require costly removal.
Pro Tip
“Ask for a warranty! Reputable shops offer 5–10-year guarantees against peeling or fading—saving you long-term costs.”
Conclusion: How Much Does Window Tinting Cost
Window tinting cost 50–800+, depending on film type, vehicle size, and labor. Investing in ceramic film or a trusted installer ensures durability and performance. Always check local laws and compare quotes to make a smart choice.
FAQ: How Much Does Window Tinting Cost
1. Is tinting worth the cost?
Yes—it reduces skin-damaging UV rays by 99% and lowers AC use, saving fuel.
2. How long does tint last?
High-quality tints last 10+ years; cheap ones fade in 2–3 years.
3. Can I tint my windshield?
Most states only allow a clear or light tint strip. Check your local laws.
4. Does tint affect visibility?
Not if you choose the right VLT (%)—go for 35% or higher for safety.
-
Articles1 year ago
How Many Times Can You Regrow Green Onions
-
News7 months ago
Understanding HotLeaks: What You Need to Know
-
Fashion5 months ago
Opals in the USA: A Gemstone Transforming the Crystal Healing Market
-
Technology11 months ago
The Wonders of Oh Em Gee Blog
-
Entertainment11 months ago
Bare it All: Unforgettable Skinny Dipping Stories Shared
-
Health11 months ago
Can You Smoke Shrooms? Exploring the Myths and Realities
-
Articles2 months ago
WHAT IS THE DIFFERENCE BETWEEN SEED GARLIC AND FOOD GARLIC?
-
Fashion12 months ago
Make a Statement with Stunning Black Homecoming Dresses