Technology
The Application of 100G Modules in Distributed Network Architectures

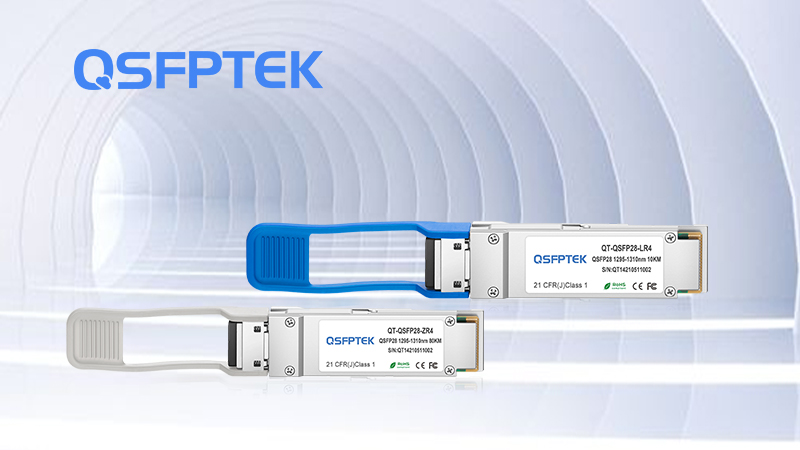
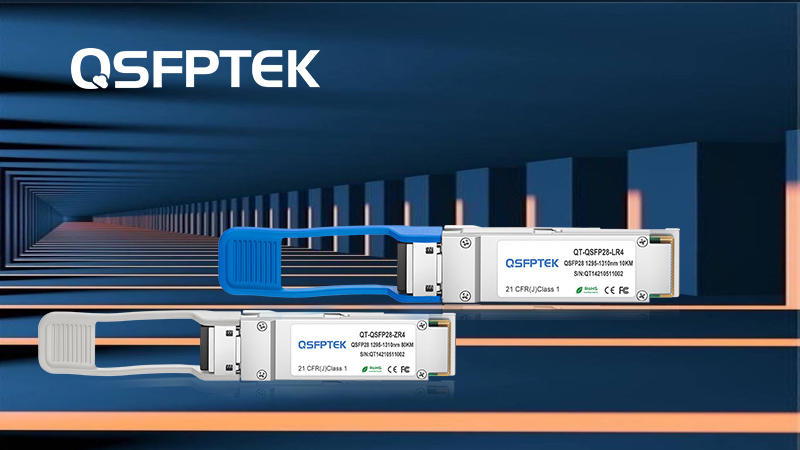
As the demand for faster, more reliable, and higher-capacity networks continues to grow, the role of 100G modules in distributed network architectures becomes increasingly critical. These high-speed optical modules are essential in scenarios like cross-data center connections and content delivery networks (CDNs), providing significant performance and reliability enhancements. This article explores the various applications of 100G modules in distributed network architectures and how they contribute to the efficiency and scalability of modern networks.
Enhancing Cross-Data Center Connectivity
Maintaining robust and efficient connectivity is paramount in distributed network architectures, especially those involving multiple data centers. Data centers need to exchange large volumes of data rapidly and reliably, which is where 100G modules shine. These modules enable high-speed, high-bandwidth connections between data centers, ensuring that data can be transferred quickly and without bottlenecks.
High Throughput
100G modules provide a tenfold increase in throughput compared to traditional 10G links. This high capacity is crucial for data centers that handle vast amounts of data, such as those involved in big data analytics, cloud computing, and enterprise applications. The increased bandwidth supports smoother data flows, reducing latency and enhancing overall network performance.
Improved Redundancy and Failover
With 100G modules, data centers can implement more robust redundancy and failover strategies. High-capacity links allow for the seamless rerouting of traffic in case of a link failure, ensuring continuous availability and minimizing downtime. This capability is essential for maintaining service level agreements (SLAs) and ensuring user satisfaction.
Scalability
As businesses grow, their data needs expand, requiring scalable network solutions. 100G modules provide the scalability needed to accommodate growing data volumes and user demands. Data centers can upgrade their infrastructure without frequent overhauls, simply by adding more 100G links or replacing lower-capacity modules.
Supporting Content Delivery Networks
Content Delivery Networks (CDNs) are critical for delivering digital content efficiently to end-users across the globe. CDNs rely on a distributed server network to cache and deliver content, reducing latency and improving user load times. The deployment of 100G modules in CDNs significantly enhances their performance and reliability.
Faster Content Delivery
100G modules enable rapid data transfer between CDN nodes, ensuring that content is delivered quickly to local caches. This speed is crucial for delivering high-quality video streams, large file downloads, and real-time gaming experiences. With lower latency and higher bandwidth, users experience smoother, more responsive content delivery.
Enhanced Network Resilience
CDNs often deal with variable traffic loads and unexpected spikes in demand. The high capacity of 100G modules ensures that CDNs can handle these fluctuations without compromising performance. Additionally, the redundancy provided by 100G links helps maintain service continuity during hardware failures or network issues.
Efficient Load Balancing
Efficient load balancing across CDN nodes is essential for optimal performance. 100G modules support sophisticated load balancing techniques, distributing traffic evenly and preventing any single node from becoming a bottleneck. This distribution enhances the CDN’s ability to serve content efficiently and reliably.
Benefits to Performance and Reliability
The integration of 100G QSFP28 into distributed network architectures brings several key benefits:
Reduced Latency
High-speed 100G connections reduce latency, ensuring faster data transmission and improved response times. This reduction is critical for applications requiring real-time data processing, such as financial trading platforms, online gaming, and live streaming services.
Increased Reliability
The robustness of 100G modules contributes to increased network reliability. With higher bandwidth and better failover capabilities, networks can maintain consistent performance even under heavy loads or during unexpected failures.
Cost Efficiency
While the initial investment in 100G modules may be higher, the long-term benefits include reduced operational costs due to enhanced efficiency and fewer network disruptions. Additionally, the scalability of 100G modules allows for gradual network expansion without the need for frequent, costly upgrades.
Conclusion
100G modules are revolutionizing distributed network architectures by providing the necessary bandwidth, speed, and reliability to support modern data demands. Whether enhancing cross-data center connectivity or boosting the performance of content delivery networks, these high-speed modules play a pivotal role in ensuring efficient, scalable, and resilient network operations. As data volumes continue to grow and user expectations rise, the importance of 100G modules in maintaining robust and efficient network infrastructures will only increase, making them indispensable in the evolution of digital communication.
Technology
ecvh0 dforce master how to: Unlock Its Benefits

Introduction
Struggling with ecvh0 dforce master setup? You’re not alone. Many users find its configuration tricky, but mastering it unlocks powerful automation and efficiency. This guide breaks down the process into simple steps, helping you harness its full potential quickly.
Why It Matters
Properly setting up ecvh0 dforce master ensures smoother workflows, reduces errors, and maximizes productivity. Whether for personal projects or enterprise use, mastering this tool can save hours of manual work.
Step-by-Step Guide
1. Install & Configure
- Download the latest ecvh0 dforce master package from the official site.
- Follow the installation wizard, ensuring all dependencies are met.
2. Set Up Permissions
- Assign appropriate user roles (admin, editor, viewer).
- Configure access controls to prevent unauthorized changes.
3. Integrate with Your System
- Connect ecvh0 dforcemaster to your existing tools via API.
- Test the connection to ensure seamless data flow.
4. Automate Key Tasks
- Use built-in templates or create custom automation rules.
- Schedule recurring tasks to minimize manual input.
5. Monitor & Optimize
- Track performance metrics in the dashboard.
- Adjust settings for better speed and efficiency.
Pro Tip
Use keyboard shortcuts to navigate ecvh0 dforcemaster faster. Press
Ctrl + K
(Windows) orCmd + K
(Mac) to open the command palette for quick actions.
Conclusion
Mastering ecvh0 dforce master simplifies complex tasks and boosts efficiency. By following these steps, you’ll optimize your workflow and get the most out of this powerful tool.
FAQ
Is ecvh0 dforcemaster free?
It offers a free tier with limited features; advanced options require a subscription.
Can I use it offline?
Some features work offline, but full functionality requires an internet connection.
How secure is ecvh0 dforcemaster?
It uses encryption and role-based access for security. For best practices, check our security guide.
Technology
How to Disassemble a Sony KV-27S42 CRT TV: Complete Guide

Introduction
The Sony KV-27S42 is a classic CRT television, and while it’s no longer in production, many enthusiasts still repair, modify, or salvage these sets. However, disassembling a CRT TV requires caution—high-voltage components and delicate electronics mean one wrong move could be dangerous.
This guide will walk you through the full disassembly process of the KV-27S42, covering:
✔ Safety precautions (CRT discharge, avoiding shocks)
✔ Tool requirements (what you’ll need)
✔ Step-by-step teardown (removing the case, tube, and boards)
✔ Salvaging useful parts (what to keep or discard)
✔ Reassembly tips (if needed)
Whether you’re repairing, modding, or recycling, this guide ensures you do it safely and efficiently.
Why Disassemble a KV-27S42?
Before diving in, it’s worth understanding why you might need to take apart this TV:
🔹 Repairs – Fixing power supply issues, bad capacitors, or video problems.
🔹 Modifications – RGB or component video mods for retro gaming.
🔹 Salvage – Reusing the CRT, speakers, or other parts for projects.
🔹 Safe Disposal – CRTs contain hazardous materials (lead, phosphors) and must be recycled properly.
Warning:
⚠ CRTs hold high voltage even when unplugged – improper handling can result in severe electric shock.
⚠ The tube is heavy and fragile – dropping it can cause implosion or injury.
Tools & Safety Gear You’ll Need
Before starting, gather these essentials:
Essential Tools
✔ Screwdrivers (Phillips & flathead)
✔ CRT discharge tool (or insulated screwdriver + wire)
✔ Needle-nose pliers (for small connectors)
✔ Anti-static wrist strap (optional but recommended)
Safety Precautions
✔ Work in a dry, well-lit area
✔ Discharge the CRT before touching anything
✔ Wear gloves & safety glasses (glass shards are sharp)
✔ Keep pets/kids away (CRTs are dangerous when mishandled)
Step-by-Step Disassembly Guide
Step 1: Unplug & Discharge the CRT
- Unplug the TV and wait at least 30 minutes for capacitors to discharge.
- Locate the anode cap (the large rubber suction cup on the CRT).
- Discharge the CRT:
- Use a CRT discharge tool (best option).
- Alternative: Clip one end of a wire to the TV’s metal frame and carefully slide a flathead screwdriver under the anode cap until you hear/see a small spark.
Step 2: Remove the Rear Cover
- Flip the TV face-down on a soft surface (blanket/towel).
- Remove all rear screws (some may be hidden under stickers).
- Gently pry the back cover off—plastic tabs may hold it in place.
Step 3: Disconnect Internal Cables
- Take photos of all connections before unplugging anything.
- Unplug:
- Deflection yoke (two large plugs near the tube neck)
- Anode cap (already discharged, but still be careful)
- Speaker wires & control board connectors
Step 4: Remove the CRT Tube
- Unscrew the 4 CRT mounting brackets (they hold the tube to the frame).
- Carefully lift the tube out – it’s extremely heavy (get help if needed).
- Set it face-down on a soft surface to avoid scratches.
Step 5: Extract Circuit Boards & Other Components
- Mainboard – Remove screws and gently lift it out.
- Power supply – Disconnect all wires before removing.
- Speakers & tuner – Useful for retro projects if salvaging.
Pro Tips for Safe Disassembly
🔧 Label every wire and screw (masking tape + marker) to avoid confusion later.
🔧 Use a magnetic tray to keep screws organized.
🔧 If keeping the CRT, store it upright to avoid stress on the glass.
What Can You Salvage?
If you’re parting out the TV, these components are useful:
✅ CRT tube – Great for arcade builds or replacements.
✅ Speakers – Decent quality for DIY audio projects.
✅ Power supply & mainboard – Useful for electronics tinkering.
✅ Control knobs & buttons – Handy for retro mods.
How to Dispose of a CRT Safely
CRTs contain leaded glass and toxic phosphors, so never throw them in the trash. Instead:
♻ Check local e-waste recycling centers (many accept CRTs for free).
♻ Contact electronics repair shops – Some may take old TVs.
♻ Look for CRT buyback programs (some collectors pay for working tubes).
Conclusion: How to Disassemble a Sony KV-27S42 CRT TV
How to Disassemble a Sony KV-27S42 CRT TV, requires patience and safety awareness, but it’s a rewarding project for retro tech enthusiasts. Whether you’re fixing, modding, or salvaging, following this guide ensures a smooth process.
FAQ About How to Disassemble a Sony KV-27S42 CRT TV
1. Can I get shocked if the TV has been unplugged for days?
Yes! CRTs can hold charge for weeks. Always discharge before working.
2. How heavy is the KV-27S42 CRT?
Around 50-60 lbs (23-27 kg)—lift carefully or get help.
3. Can I reuse the CRT in another TV?
Possibly, but tube swaps require matching specs (size, impedance, etc.).
4. What if I break the CRT?
The glass is under vacuum—if it cracks, it can implode. Wear safety gear!
5. Is it worth repairing a KV-27S42?
If you love CRTs, yes! These Sonys have great picture quality for retro gaming.
Technology
How Much Does Window Tinting Cost? Save Money, Boost Comfort

Introduction
Window tinting costs can vary widely, leaving many car owners unsure about fair pricing. Whether you want UV protection, privacy, or heat reduction, understanding the factors that influence cost helps you budget wisely. This guide breaks down pricing, so you get the best value without surprises.
Why It Matters
Window tinting isn’t just about style—it blocks harmful UV rays, reduces glare, and keeps your car cooler. But overpaying or choosing cheap options can lead to poor quality. Knowing the average costs ensures you invest in a tint that lasts and performs well.
Step-by-Step Guide to Window Tinting Costs
1. Understand the Pricing Factors
- Film Quality: Basic dyed film starts at 50–150, while premium ceramic tints run 200–800.
- Vehicle Size: Smaller cars cost less (100–300) vs. SUVs (200–600).
- Number of Windows: Full-car tinting costs more than just side windows.
2. Compare Film Types
- Dyed Film (50–150): Affordable but fades faster.
- Carbon Film (150–350): Better heat rejection, matte finish.
- Ceramic Film (200–800): Top-tier heat/UV protection, no signal interference.
3. Factor in Labor Costs
Professional installation adds 50–200, depending on complexity. DIY kits (20–100) are cheaper but risk bubbles/peeling.
4. Check Local Market Prices
Urban areas often charge more. Get 3+ quotes to avoid overpaying.
5. Consider Legal Limits
Some states restrict tint darkness (e.g., California bans <70% VLT on front windows). Non-compliant tints may require costly removal.
Pro Tip
“Ask for a warranty! Reputable shops offer 5–10-year guarantees against peeling or fading—saving you long-term costs.”
Conclusion: How Much Does Window Tinting Cost
Window tinting cost 50–800+, depending on film type, vehicle size, and labor. Investing in ceramic film or a trusted installer ensures durability and performance. Always check local laws and compare quotes to make a smart choice.
FAQ: How Much Does Window Tinting Cost
1. Is tinting worth the cost?
Yes—it reduces skin-damaging UV rays by 99% and lowers AC use, saving fuel.
2. How long does tint last?
High-quality tints last 10+ years; cheap ones fade in 2–3 years.
3. Can I tint my windshield?
Most states only allow a clear or light tint strip. Check your local laws.
4. Does tint affect visibility?
Not if you choose the right VLT (%)—go for 35% or higher for safety.
-
Articles1 year ago
How Many Times Can You Regrow Green Onions
-
News7 months ago
Understanding HotLeaks: What You Need to Know
-
Fashion5 months ago
Opals in the USA: A Gemstone Transforming the Crystal Healing Market
-
Technology11 months ago
The Wonders of Oh Em Gee Blog
-
Entertainment11 months ago
Bare it All: Unforgettable Skinny Dipping Stories Shared
-
Health11 months ago
Can You Smoke Shrooms? Exploring the Myths and Realities
-
Articles2 months ago
WHAT IS THE DIFFERENCE BETWEEN SEED GARLIC AND FOOD GARLIC?
-
Fashion12 months ago
Make a Statement with Stunning Black Homecoming Dresses