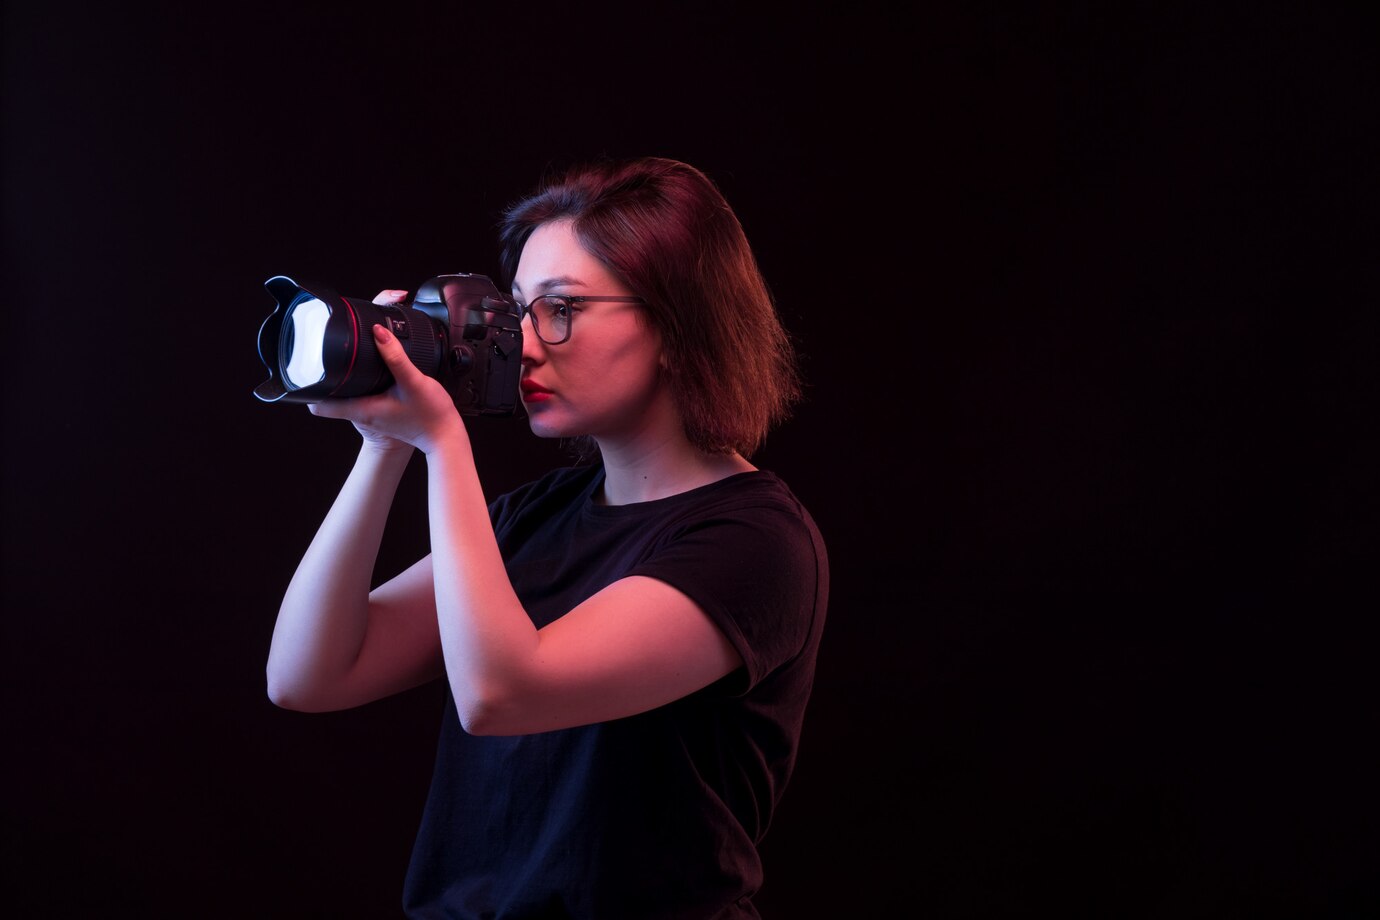
In the evolving world of digital photography and post-processing, visual enhancements are more than just aesthetic boosts—they shape the narrative of an image. One such powerful visual element is the Photeeq lens flare. While lens flare was once considered a flaw, today’s photographers and digital artists embrace it as a creative tool. When used skillfully, it can elevate your photos from standard to cinematic.
This guide explores everything you need to know about Photeeq lens flare, offering professional insights, practical tips, and best practices for achieving stunning results.
What is Photeeq Lens Flare?
Photeeq was a popular photo editing plugin that brought high-quality visual effects to platforms like Adobe Photoshop and Lightroom. Among its most talked-about features was its sophisticated lens flare effect—a simulated version of what naturally occurs when light hits a camera lens directly, creating artistic halos, streaks, or glows.
Photeeq’s lens flare effect stood out for its:
-
Realism – Closely mimicking how real lenses respond to strong light sources.
-
Customizability – Allowing users to adjust intensity, angle, color, and flare type.
-
Speed – Lightweight enough to run seamlessly on most editing setups.
Though Photeeq is no longer officially updated, many digital creatives continue using its features via legacy systems or alternatives that replicate its functionality.
Why Use Lens Flare?
Before diving into how to apply Photeeq lens flare, it’s important to understand why lens flare is used at all. Its benefits include:
| Benefit | Explanation |
|---|---|
| Adds realism | Simulates real camera behavior in high-light scenarios. |
| Enhances mood | Warm flares can evoke nostalgia; cool flares create drama. |
| Draws focus | Directs the viewer’s eye to key elements in the composition. |
| Creates atmosphere | Gives depth, lighting, and emotion to flat images. |
| Boosts storytelling | Suggests a time of day, emotion, or environment (e.g., sunrise). |
The Science Behind Lens Flare
A natural lens flare happens when bright light—often the sun—hits the lens at an angle, reflecting internally between lens elements. These reflections are captured on the image sensor, creating glowing orbs, streaks, and hazes.
Photeeq replicates this effect digitally, allowing artists to control:
-
Source position
-
Flare intensity
-
Shape and color
-
Ghosting effects
This digital control means no overexposed photos, no permanent edits, and maximum creativity.
Setting Up Photeeq Lens Flare
Though Photeeq may not be available on newer software platforms, here’s how to get started with it on supported systems:
Step 1: Install the Plugin
-
Ensure compatibility with your version of Photoshop or Lightroom.
-
Install via the plugin folder or extension manager.
-
Restart the software to activate.
Step 2: Select a Suitable Image
Lens flare works best on:
-
Backlit portraits
-
Sunset landscapes
-
Night cityscapes
-
Automotive photos with strong highlights
Step 3: Apply and Customize the Flare
-
Launch Photeeq from the “Filter” or “Plug-ins” menu.
-
Choose from preset flares or design your own.
-
Adjust:
-
Light source angle
-
Hue and saturation
-
Opacity
-
Blend mode
-
Pro Tips for Using Photeeq Lens Flare Effectively
Adding lens flare isn’t just about placing a light glow on the image—it’s about integrating it organically. Here’s how to do it like a pro:
1. Avoid Overuse
Less is often more. Excessive flare can distract from the subject and ruin exposure.
2. Match the Light Source
Ensure your flare aligns with the natural or artificial light in the image. A flare coming from the wrong direction breaks realism.
3. Blend Smartly
Use blend modes like Screen or Soft Light to make the effect more natural. Play with layer opacity for subtlety.
4. Complement with Color Grading
Flares often introduce warm or cool tones. Adjust your color grade to complement the added light.
5. Consider Composition
Place flares to lead the eye—not block important parts. Use the rule of thirds to place flares in visually pleasing spots.
Fresh Techniques in 2025: Creative Uses of Photeeq Lens Flare
Even though Photeeq is no longer a fresh plugin, digital artists in 2025 still use lens flare techniques inspired by it in modern software like:
-
Adobe Photoshop (via manual overlays or plugins)
-
Luminar Neo
-
ON1 Photo RAW
Here’s how Photeeq’s style lives on in modern workflows:
| Technique | Modern Tools | Visual Impact |
|---|---|---|
| Naturalistic sun flares | Manual radial gradients + noise | Cinematic sunlight, outdoor realism |
| Stylized neon flares | Color overlays + blending | Retro, vaporwave, futuristic vibes |
| Automotive headlight flares | Ghosting streaks + masking | Intensity, speed, high contrast |
| Sci-fi glow effects | Multiple stacked flares | Adds surrealism and fantasy styling |
Photeeq Alternatives for Lens Flare in 2025
Since Photeeq isn’t maintained officially, photographers now use a mix of modern tools and techniques to achieve similar (and sometimes superior) results.
Popular Alternatives:
-
Manual overlays – Pre-designed flare PNGs layered in Photoshop.
-
AI-assisted photo editors – Tools that auto-detect light sources and apply flare effects.
-
Lens flare brushes – Custom Photoshop brushes for directional light effects.
-
Custom gradients and masking – For subtle glows and halos.
By learning from Photeeq’s methodology, users can recreate its charm with updated flexibility.
Real-World Applications of Lens Flare
🎞️ Film Poster Design
Lens flares are a staple in blockbuster posters to add tension, mystery, or highlight characters.
🌇 Travel and Landscape Photography
Use warm, circular flares at sunset or sunrise to amplify mood and magic.
🚗 Automotive Imagery
Headlight or taillight flares suggest speed, motion, and energy.
💄 Fashion Photography
Controlled lens flares can accentuate accessories, glassy textures, or metallic fabrics.
🎶 Album Covers
Many musicians use flared photos to create nostalgia, intimacy, or urban grit.
Best Practices for Authentic Results
To ensure your Photeeq lens flare effects enhance rather than overwhelm:
-
Use RAW files for flexibility.
-
Work non-destructively by using adjustment layers and masks.
-
Zoom in frequently to check pixel-level blending.
-
Test on different screens to avoid oversaturation or wash-out effects.
-
Get feedback from peers or online communities before publishing.
Common Mistakes to Avoid
| Mistake | Why to Avoid |
|---|---|
| Adding flare without a light source | Looks fake and disconnected |
| Oversaturating the flare | Causes image degradation, distraction |
| Misaligning direction | Breaks realism; light doesn’t “feel” right |
| Using same flare for every image | Reduces uniqueness and personalization |
| Ignoring mobile optimization | Effects may not translate well to mobile |
SEO Tip: Naming and Exporting Your Flare Images
When exporting your images for web use:
-
Use keyword-rich file names (e.g.,
photeeq-lens-flare-sunset.jpg) -
Add alt text and metadata for accessibility and SEO ranking
-
Compress images to balance quality and loading speed
-
Use WebP format when possible for modern browsers
Final Thoughts
Though Photeeq itself may be considered a legacy tool, its iconic lens flare effect lives on through modern workflows. Whether you’re shooting landscapes, designing posters, or experimenting with digital art, mastering Photeeq lens flare techniques can set your visuals apart. With attention to detail, light, and storytelling, you’ll turn basic edits into captivating works of art.
FAQ
Is Photeeq still available?
As of 2025, Photeeq is no longer actively supported, but legacy users can still run it on compatible systems.
Can I use Photeeq lens flare effects on mobile?
While the original plugin wasn’t mobile-friendly, many photo editing apps now offer similar features inspired by Photeeq.
Are Photeeq flares copyright-safe?
If you create the effect yourself using Photeeq, you own the copyright. Avoid using third-party overlays without permission.
Do professionals use lens flare?
Absolutely. Top-tier photographers and designers use flares to simulate light sources, create atmosphere, or enhance mood—when done tastefully.


