Brazering is a time-honored technique that has been used for centuries to join metals with precision, strength, and beauty. Whether you’re a DIY enthusiast or a professional looking to refine your skills, this guide will equip you with everything you need to know about brazering. From the basics to advanced tips, we’ll cover it all. Let’s dive in!
What is Brazering?
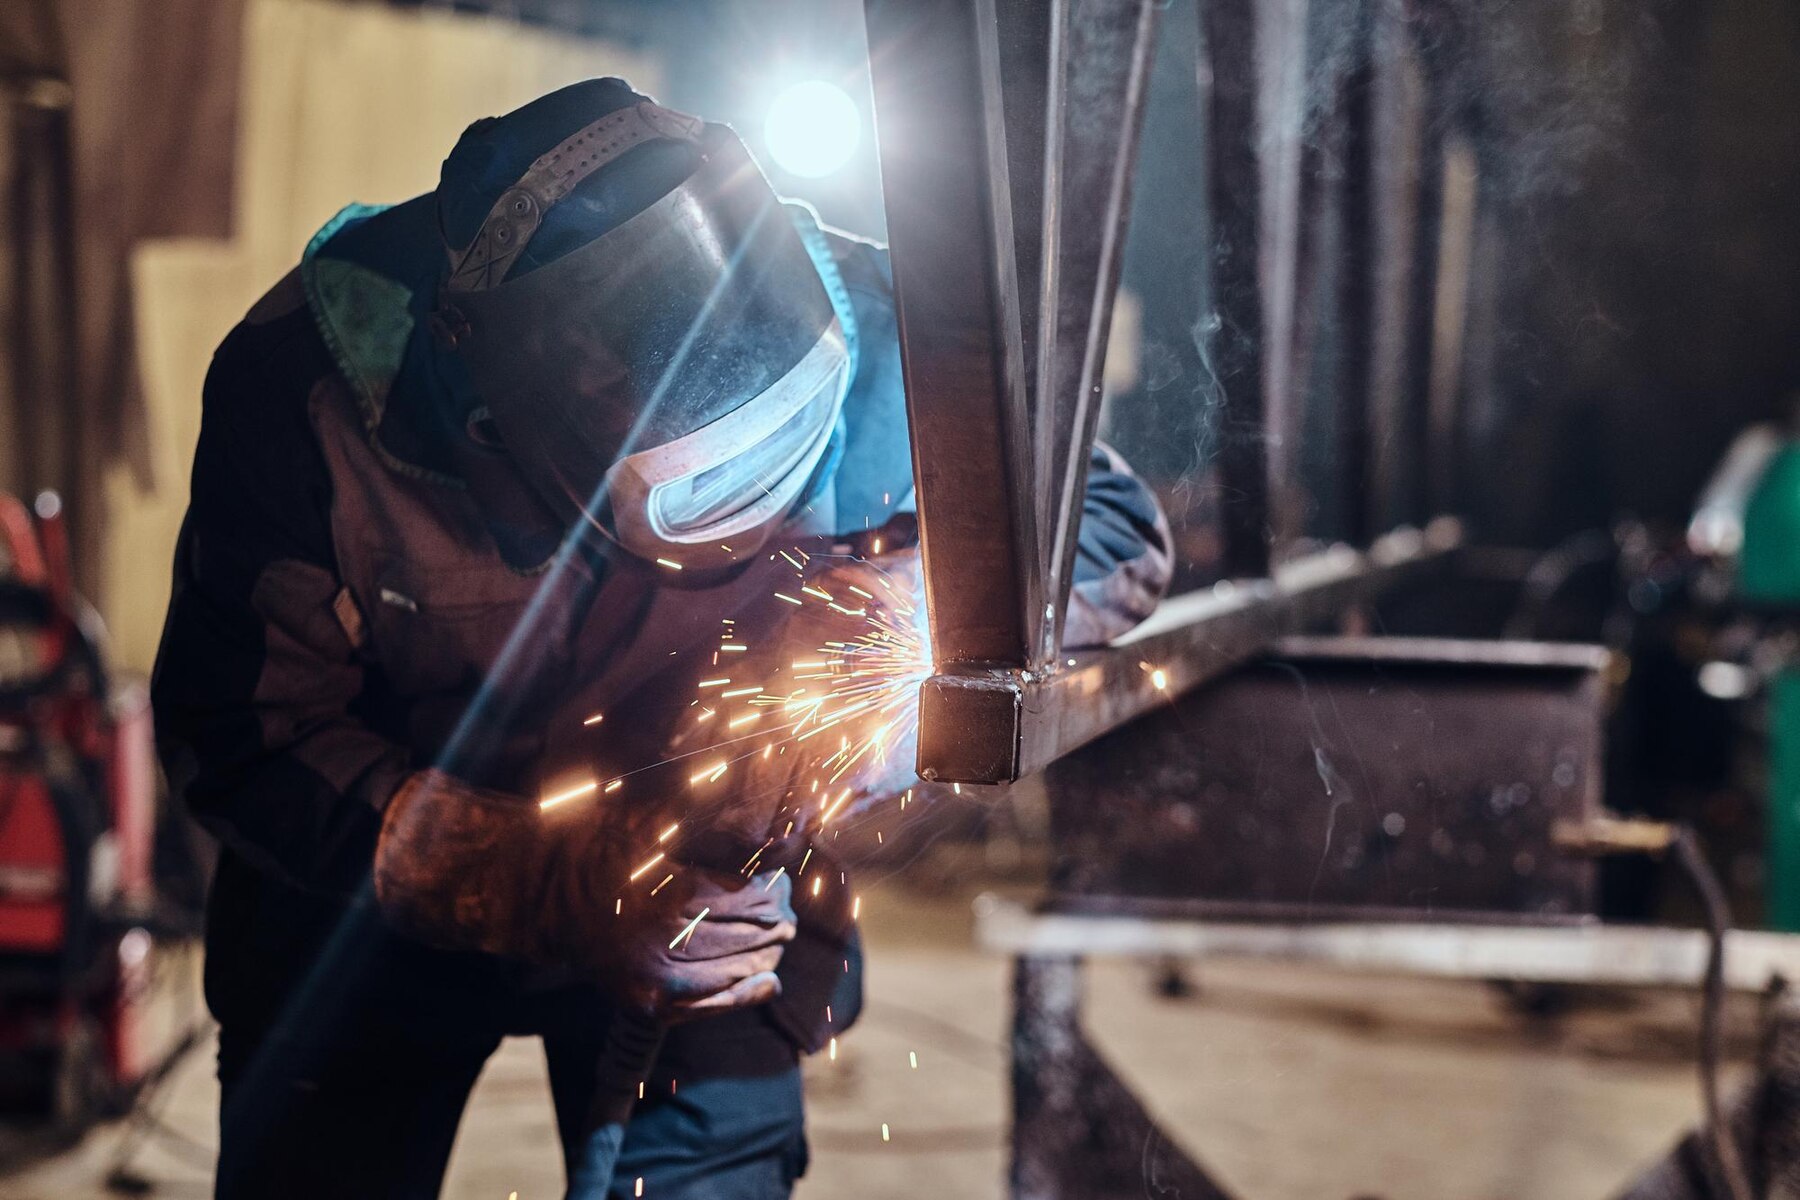
Brazering is a metal-joining process that uses a filler metal with a melting point above 840°F (450°C) but below the melting point of the base metals being joined. Unlike welding, brazering doesn’t melt the base metals, making it ideal for delicate or dissimilar materials.
Key Benefits of Brazering:
- Strength: Creates durable, leak-proof joints.
- Versatility: Works on a wide range of metals, including copper, brass, and stainless steel.
- Precision: Ideal for intricate designs and thin materials.
- Aesthetic Appeal: Produces clean, smooth joints with minimal finishing required.
The Science Behind Brazering
Brazering relies on capillary action, where the filler metal is drawn into the gap between closely fitted surfaces. The process involves three key steps:
- Cleaning the Surfaces: Remove dirt, grease, and oxidation to ensure proper adhesion.
- Applying Flux: Flux prevents oxidation and helps the filler metal flow smoothly.
- Heating and Filling: Heat the joint evenly and apply the filler metal, which flows into the gap and solidifies.
Tools and Materials You’ll Need
Before you start brazering, gather these essential tools and materials:
Tools:
- Brazing Torch: Propane or oxy-acetylene torches are commonly used.
- Flux Brush: For applying flux evenly.
- Clamps or Jigs: To hold pieces in place.
- Heat-Resistant Gloves and Goggles: For safety.
Materials:
- Filler Metal: Choose based on the metals you’re joining (e.g., silver-based for copper).
- Flux: Ensures a clean, strong bond.
- Base Metals: Clean and prepare the surfaces beforehand.
Step-by-Step Guide to Brazering
Follow these steps to achieve flawless brazered joints:
Step 1: Prepare the Surfaces
- Clean the metals thoroughly using a wire brush or sandpaper.
- Apply flux to the joint area to prevent oxidation.
Step 2: Assemble the Pieces
- Use clamps or jigs to hold the pieces in place.
- Ensure a tight fit with minimal gaps for optimal capillary action.
Step 3: Heat the Joint
- Use a torch to heat the joint evenly. Avoid overheating, as it can weaken the metals.
Step 4: Apply the Filler Metal
- Touch the filler metal to the joint. It should melt and flow into the gap.
- Remove the heat once the filler metal has filled the joint completely.
Step 5: Cool and Clean
- Allow the joint to cool naturally.
- Remove any residual flux with a brush or water.
Common Mistakes to Avoid
Even experienced crafters can make mistakes. Here’s what to watch out for:
- Insufficient Cleaning: Dirty surfaces lead to weak joints.
- Overheating: Can warp the metals or burn the flux.
- Using the Wrong Filler Metal: Match the filler to the base metals for best results.
- Skipping Flux: Flux is essential for a strong, clean bond.
Brazering vs. Welding: Which is Better?
| Aspect | Brazering | Welding |
|---|---|---|
| Heat Application | Doesn’t melt base metals | Melts base metals |
| Strength | Strong, but not as strong as welding | Extremely strong |
| Versatility | Works on dissimilar metals | Limited to similar metals |
| Skill Level | Easier for beginners | Requires more expertise |
Advanced Tips for Perfect Brazering
- Control the Heat: Use a smaller flame for delicate pieces and a larger flame for thicker metals.
- Practice Patience: Allow the joint to cool naturally to avoid cracks.
- Experiment with Filler Metals: Different projects may require different fillers for optimal results.
- Invest in Quality Tools: High-quality torches and flux make a significant difference.
Real-World Applications of Brazering
Brazering is used in various industries, including:
- Plumbing: Joining copper pipes.
- Jewelry Making: Creating intricate designs.
- Automotive: Repairing radiators and exhaust systems.
- HVAC: Assembling heating and cooling systems.
Case Study: Brazering in Action
Project: Repairing a vintage brass lamp.
Challenge: The lamp had thin, delicate parts that couldn’t withstand welding.
Solution: Brazering was used to join the pieces without damaging the metal.
Result: The lamp was restored to its original beauty with strong, seamless joints.
Conclusion: Master Brazering and Unlock New Possibilities
Brazering is a versatile, reliable technique that opens up a world of creative and practical possibilities. Whether you’re repairing household items or crafting custom designs, mastering brazering will give you the skills to tackle any project with confidence.


