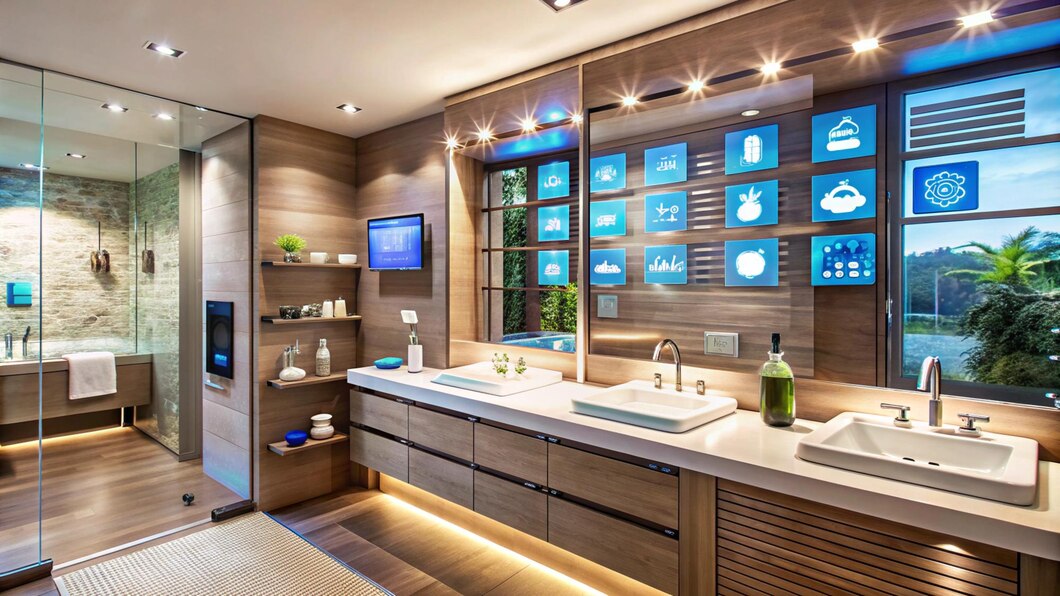
Some spaces in our houses, like kitchens and bathrooms, need perfect lighting for safety and functionality. Installing proper lighting there has always been challenging. Complex wiring, expensive electrician visits, and messy wall modifications discourage homeowners from upgrading their lighting. Fortunately, modern no-wire lighting solutions have transformed home lighting, making it accessible and hassle-free for everyone.
From under-cabinet strips in kitchens to vanity lights in bathrooms, these modern solutions offer amazing benefits. You can easily create perfect task lighting, set the right mood, and enhance safety. Best of all, these systems are energy-efficient, flexible, and perfect for homeowners and renters.
While installing smart lighting is straightforward, knowing the right tips and tricks makes a huge difference. In this article, I’ll discuss everything from choosing the right lights to maintaining them properly, ensuring you get the best results.
Why Plug-and-Play Lighting is a Smart Choice
Traditional lighting installations often require extensive wiring, tools, and sometimes even professional help. Plug-and-play lighting eliminates these complexities, offering a convenient, flexible, and budget-friendly alternative.
Benefits of Plug-and-Play Lighting
-
- Ease of Installation: Unlike traditional setups, plug-and-play systems don’t require cutting wires, drilling holes, or hiring an electrician.
- Cost Savings: Without professional assistance, you save significantly on labor costs.
- Energy Efficiency: Most systems use LED technology, which consumes less energy and lasts longer than traditional bulbs.
- Flexibility: These systems can be relocated or replaced without any hassle, making them ideal for renters or those who frequently update their interiors.
- Modern Aesthetic: Plug-and-play lighting adds the latest touch to your kitchen and bathroom in various designs.
Preparing for Installation
Preparation is key before you install your new lights. Proper planning ensures a smooth process and optimal results.
What You’ll Need
This is a checklist to get started:
- A plug-and-play lighting kit (available in different styles and configurations).
- Measuring tape to ensure precise placement.
- Cleaning materials to prepare the mounting surfaces.
- Adhesive or mounting clips (usually included in the kit).
- Access to a nearby power source.
Choosing the Right Lighting
Consider factors like brightness, color temperature, and durability when selecting plug-and-play lighting. Bright task lighting works best under cabinets or over counters in kitchens. Softer lighting creates a relaxing atmosphere in bathrooms. Opt for waterproof options to ensure safety in damp areas.
Step-by-Step Installation Process
After essential preparation, the installation process becomes easy for kitchens and bathroom lighting:
Step 1: Plan Your Lighting Layout
Start by visualizing the placement of your lights. In kitchens, under-cabinet lighting is popular for illuminating countertops. In bathrooms, focus on areas like around mirrors or beneath vanities.
Planning tips:
- Use a tape measure to mark precise locations.
- Ensure lights are evenly spaced for consistent illumination.
- Identify a power source near your chosen locations.
Step 2: Prepare the Area
Clean the surfaces where the lights will be installed. Dust, grease, or moisture can affect the adhesion of mounting clips or adhesive strips. A clean surface ensures the lights stay securely in place.
Step 3: Install the Lights
Now is the turn to install the lights based on your chosen space:
For Kitchens
- Mounting Under Cabinets
- Peel off the adhesive backing or secure the mounting clips.
- Position the lights under cabinets, ensuring they align with the counter below.
- Connecting the System
- Use the connectors provided in the kit to link multiple lights.
- Plug the main connection into the power outlet and test.
- Final Adjustments
- Make sure the lights are evenly positioned.
- Adjust the angle of the lights, if possible, to avoid glare.
For Bathrooms
- Waterproofing
- Choose waterproof plug-and-play lights for wet zones near sinks, showers, or bathtubs.
- Mirror Lighting
- Place lights around or behind mirrors for a sufficient glow.
- Use adhesive or mounting clips to secure the lights.
- Testing
- Plug in the lights and test them.
- Check for proper illumination and adjust if necessary.
Modern options like tool-free smart lighting make installation even easier, eliminating the need for tools.
Step 4: Fine-tune and Customize
After installing your lights, take time to customize the setup:
- Dimming Features: Many plug-and-play systems allow dimming to create the perfect ambiance.
- Color Temperature: Adjust the light color (warm, neutral, or cool) to suit the room’s function.
- Repositioning: You can easily reposition the lights due to their flexible design.
Smart Tips for Kitchens and Bathrooms
Plug-and-play lighting works well when integrated thoughtfully. Some specific tips to enhance your kitchen and bathroom lighting:
Kitchen Lighting Tips
- Install task lights under cabinets for better visibility while preparing food.
- Add accent lights inside glass-front cabinets to showcase dishes or decorative items.
- Use plug-and-play strip lighting along kickboards to add beautiful floor-level illumination.
Bathroom Lighting Tips
- Use warm, soft lighting around mirrors for a flattering effect.
- Add no-wire lighting for areas where wiring would be challenging or disruptive.
- Install motion-sensor plug-and-play lights for convenience during nighttime use.
Avoid Common Mistakes
To ensure a smooth installation, avoid these pitfalls:
- Overloading the Power Source: Too many lights on one outlet can trip the circuit. Spread the load if needed.
- Ignoring Waterproofing: Only use waterproof lights in areas prone to moisture.
- Poor Planning: Failing to measure or plan properly can lead to uneven lighting or unsightly placements.
Maintenance and Longevity
One of the best features of plug-and-play lighting is its low maintenance. However, following these simple tips can keep your system in top condition:
- Regular Cleaning: Dust and grime can reduce brightness. Use a soft, damp cloth to clean the lights periodically.
- Inspect Connections: Check connectors regularly to ensure they remain secure.
- Replace Components: If a bulb or connector stops working, replace it promptly to avoid disruptions.
Conclusion
Plug-and-play lighting is a fantastic choice for modern kitchens and bathrooms. Its ease of installation, flexibility, and stylish designs suit you and those seeking a quick home upgrade. By following this process, you can transform your spaces without needing professional help.


