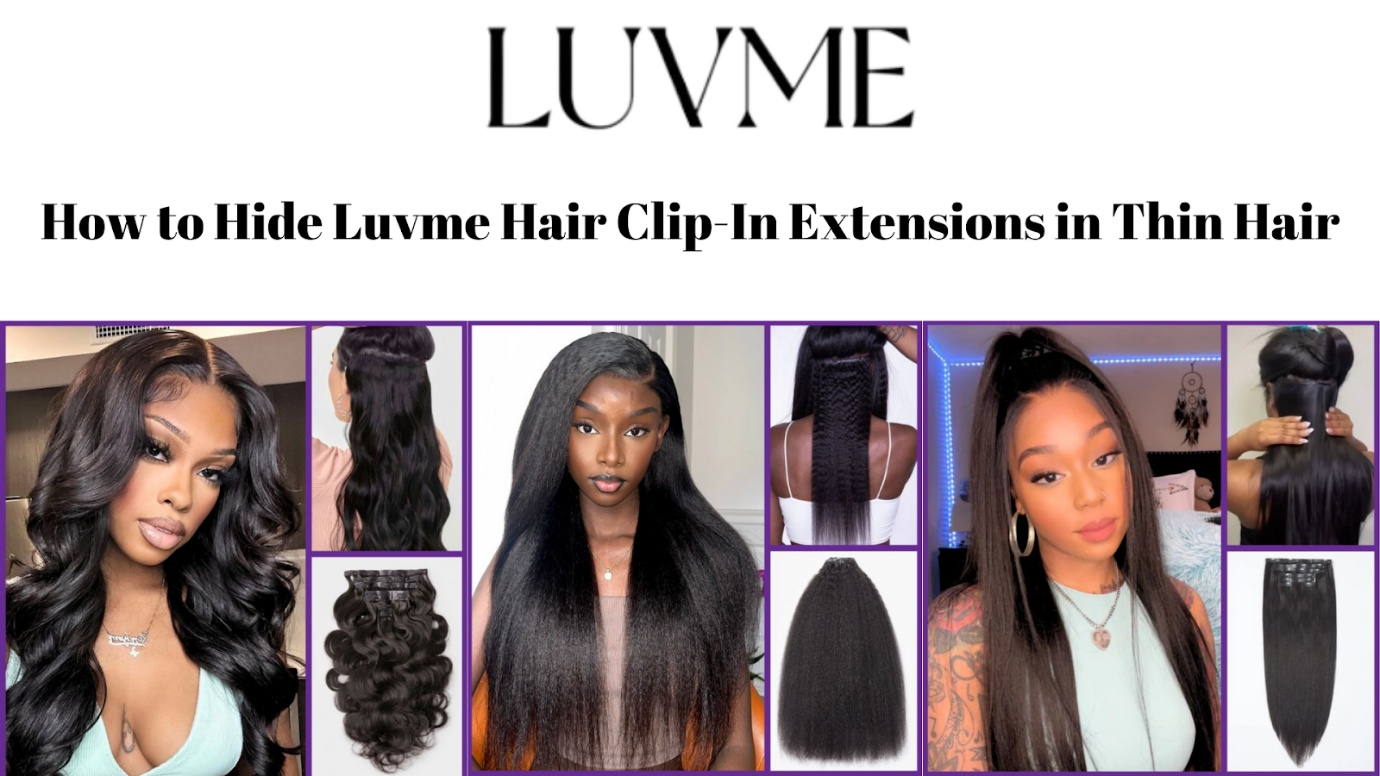
Luvme Hair clip-ins are known for their high quality and natural look. These clip-ins blend seamlessly with your natural hair, making your hairstyle look fuller and more beautiful. This article will explore how to hide clip in hair extensions in thin hair. We’ll provide a comprehensive guide with unique features from preparation to each process step. Whether you’re a first-time user or looking to improve your technique, you’ll find practical tips here.
Tip: If clip-in hair extensions do not meet your needs, you might want to consider using a V part wig. V part wig offers an alternative solution that provides a natural look and fuller hairstyle without the need for clip-ins.
Let’s start by learning to hide Luvme Hair clip-in extensions in thin hair!
Step 1: Prepare Your Hair
- Clean Your Hair:
- Shampoo: Use a gentle shampoo to thoroughly clean your hair, ensuring it’s free of oil and product buildup. This helps the extensions stay in place better.
- Condition: Apply a lightweight conditioner, avoiding the roots to prevent your hair from becoming too slippery, which can affect the hold of the extensions.
- Dry Your Hair:
- Fully Dry: Use a blow dryer to ensure your hair is completely dry, especially at the roots. Damp hair can affect the grip of the extensions and may cause discomfort on your scalp.
- Detangle: Comb through your hair with a wide-tooth comb or your fingers to remove any knots and tangles. This ensures the extensions distribute evenly and lay flat against your scalp.

Step 2: Section Your Hair
- Preparation:
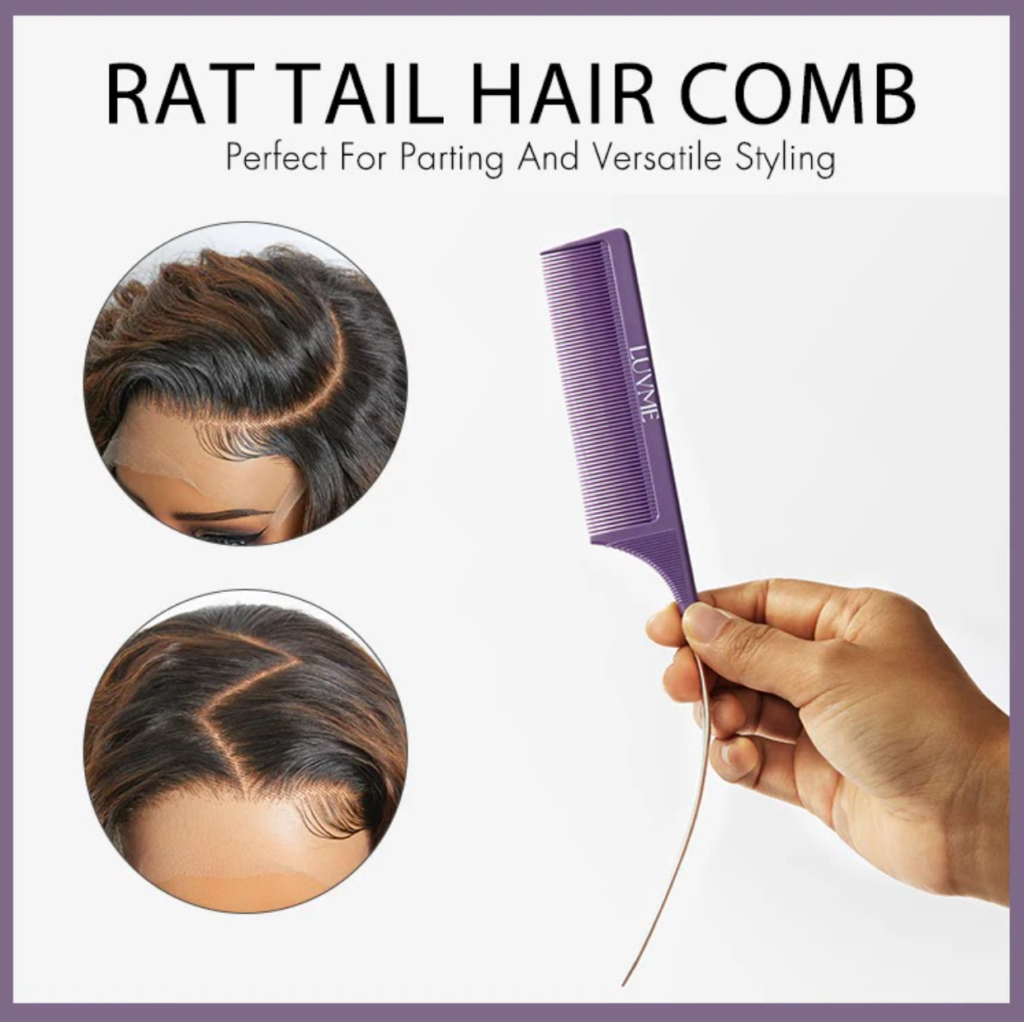
- Tools: Gather sectioning clips, a fine-tooth comb, and texturizing spray. These will help you select and secure the extensions precisely.
- Initial Parting: Use the fine-tooth comb to part your hair down the middle, dividing it into left and right sections for easier handling.
- Horizontal Sections:
- Lower Section: Create a horizontal part from ear to ear and clip up the top layer of hair. This exposes the lower section for easy application of the extensions.
- Middle Section: After applying the extensions to the lower section, release some top hair and create another horizontal part. Continue using the extensions to the middle section.
Step 3: Tease Your Roots
- Tease the Roots:
- Tools: Use a fine-tooth or teasing comb to backcomb your hair at the roots gently. Focus on the areas where you plan to attach the extensions to add volume and grip.
- Teasing Technique: Lift a small section of hair and start backcombing about 2 inches from the roots. Comb downward in short strokes, repeating until the roots are voluminous. Be gentle to avoid damaging your hair.
- Secure the Roots:
- Use Your Fingers: Gently fluff the teased hair with your fingers to enhance volume and make it look more natural. Insert your fingers at the roots and lightly shake to add more lift.
- Final Check: Inspect the teased areas to ensure enough volume and grip for the extensions. Add more teasing or spray until you’re satisfied with the hold.
Step 4: Apply Luvme Hair Clip-In Extensions
- Choose the Right Extensions:
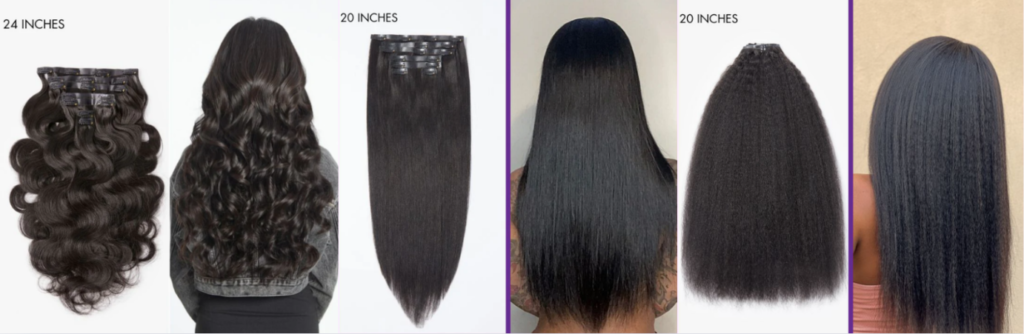
- Select Texture and Size: Choose the texture that matches your natural hair, such as straight, wavy, or curly. Then, select the length that matches your hair to ensure a natural look.
- Inspect the Extensions: Before installation, check each piece for any damage or loose clips to ensure they are in good condition.
- Install the Bottom Layer:
- Measure and Prepare: Pick the right length and width for the bottom layer. Open the clips and position the extensions to match your natural hairline.
- Secure the Clips: Starting from one side, open the clips and attach them to the roots, ensuring they are secure and close to the scalp. Repeat this process until the bottom layer is fully installed.
- Install the Middle and Top Layers:
- Section and Secure: Release some top hair, create another horizontal part, and secure the top hair again to expose the middle layer. Attach the extensions as you did for the bottom layer.
- Adjust Position: After installing each layer, adjust the position of the extensions to ensure all clips are secure and close to the scalp.
Step 5: Blend the Extensions
- Comb and Blend:
- Wide-Tooth Comb: After applying the clip-in extensions, gently comb through your hair using a wide-tooth comb, starting from the roots to the tips. This ensures that your natural hair and the extensions are evenly mixed. Be gentle to avoid pulling on the extensions.
- Finger Comb: Use your fingers to tousle your hair lightly, especially when your natural hair meets the extensions. This helps to blend the hair more naturally, avoiding any visible lines between your natural hair and the extensions.
- Style and Set:
- Curling or Straightening: Depending on your desired look, use a curling iron or straightener to style both your natural hair and the extensions together. This will help them match seamlessly. Be careful not to apply too much heat to prevent damage.
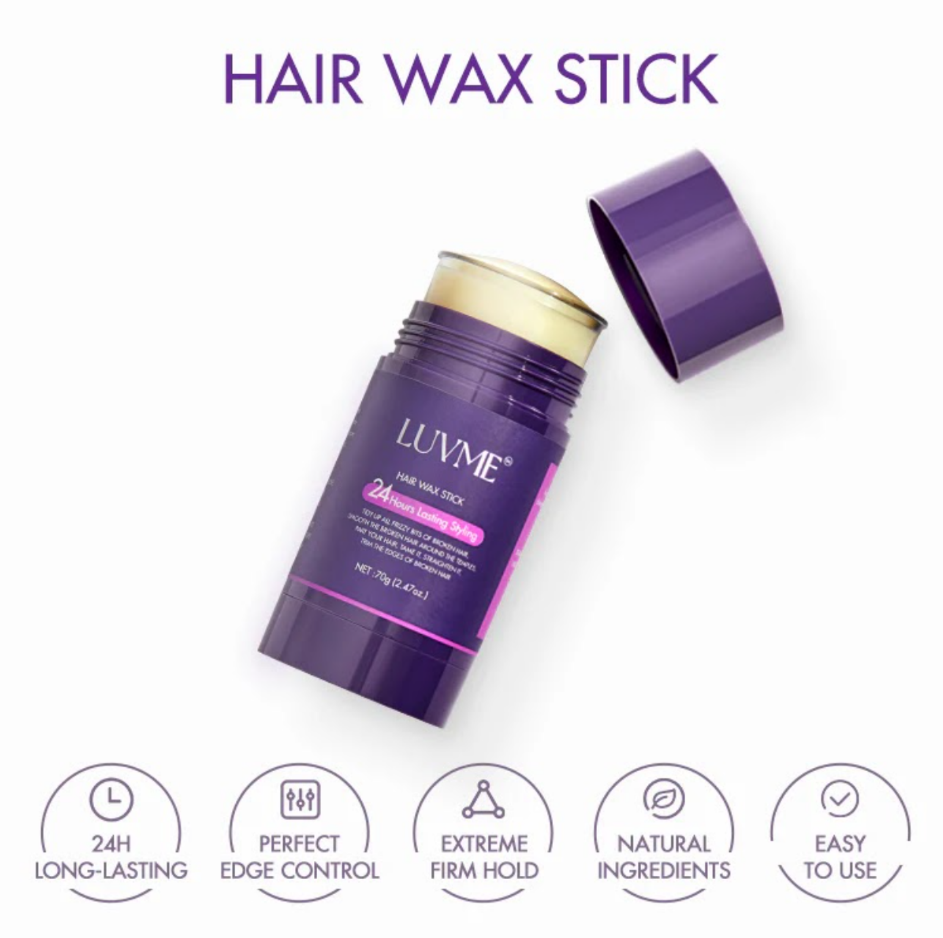
- Styling Products: Apply a small amount of styling spray or hair wax to help set your hairstyle. These products can add texture and hold, ensuring your natural hair and extensions stay blended throughout the day.

Step 6: Conceal the Clips
- Choose the Right Placement:
- Avoid the Crown and Hairline: When installing the extensions, avoid placing the clips near the crown or hairline. Instead, choose areas where your hair is thicker, like the sides or the back of your head. This way, you can use more hair to cover the clips.
- Layer the Extensions: Distribute the extensions in different layers and positions rather than concentrating them in one area. This ensures that each clip is covered by hair, reducing the chances of them being visible.
- Adjust and Secure:
- Adjust Hair Position: Gently use your fingers or a wide-tooth comb to adjust the top layer of your hair, ensuring it evenly covers the extension clips. Lightly lift and reposition your hair to conceal the clips fully.
- Use Styling Products: Apply a light-hold hairspray to help keep your hair in place, preventing it from shifting and revealing the clips. You can also use a small amount of hair wax or gel to add grip and ensure your hair stays in place all day.
Why Choose Luvme Hair Clip-In Extensions?
100% Human Hair:
- Natural Look: Made from 100% human hair, Luvme Hair extensions blend seamlessly with your natural hair, making them virtually undetectable for a perfectly natural look.
- Real Feel: The extensions are soft and flexible, just like your own hair, unlike synthetic hair, which can feel stiff and unnatural.
- Versatile Styling: You can curl, straighten, and style these extensions just like your natural hair, allowing you to change your look as often as you like without worrying about damage.
- Durability: Human hair extensions last longer and are more durable than synthetic ones. With proper care, Luvme Hair Clip-In Extensions will maintain their quality for a long time.
Seamless Blend:
- Perfect Weft Width: Designed to blend perfectly with natural hair without noticeable gaps.
- Ultra-Thin 0.8mm PU Weft: The ultra-thin PU weft ensures a comfortable fit and remains hidden within your natural hair, providing a seamless and natural look.
- Secure Clips with Anti-Slip Design: Each extension comes with safe, anti-slip clips, ensuring they stay in place all day, giving you confidence and peace of mind.
Various Hair Textures Available:
- Styling Versatility: Whether you prefer straight, body wave, kinky straight, yaki straight, or kinky curly, Luvme Hair offers a variety of textures to help you achieve any hairstyle you desire.
- Personalized Choices: With multiple textures and lengths, you can find the perfect match for your style and needs.


