Connect with us

Technology

Corsair Virtuoso Headphones: Model Comparison & Reddit Insights

Published

on

Corsair Virtuoso

When it comes to high-quality gaming headsets, Corsair Virtuoso stands out, offering a blend of performance, design, and versatility. Among gaming enthusiasts and casual users, Corsair’s Virtuoso lineup is highly debated on platforms like Reddit. With models such as the Virtuoso RGB Wireless, Virtuoso SE, and Virtuoso XT, it’s essential to pick the one that best meets your needs. In this article, we’ll explore Reddit users’ insights on these models, make a head-to-head comparison, and help you choose the ideal Corsair Virtuoso headset.

Corsair Virtuoso Series Overview

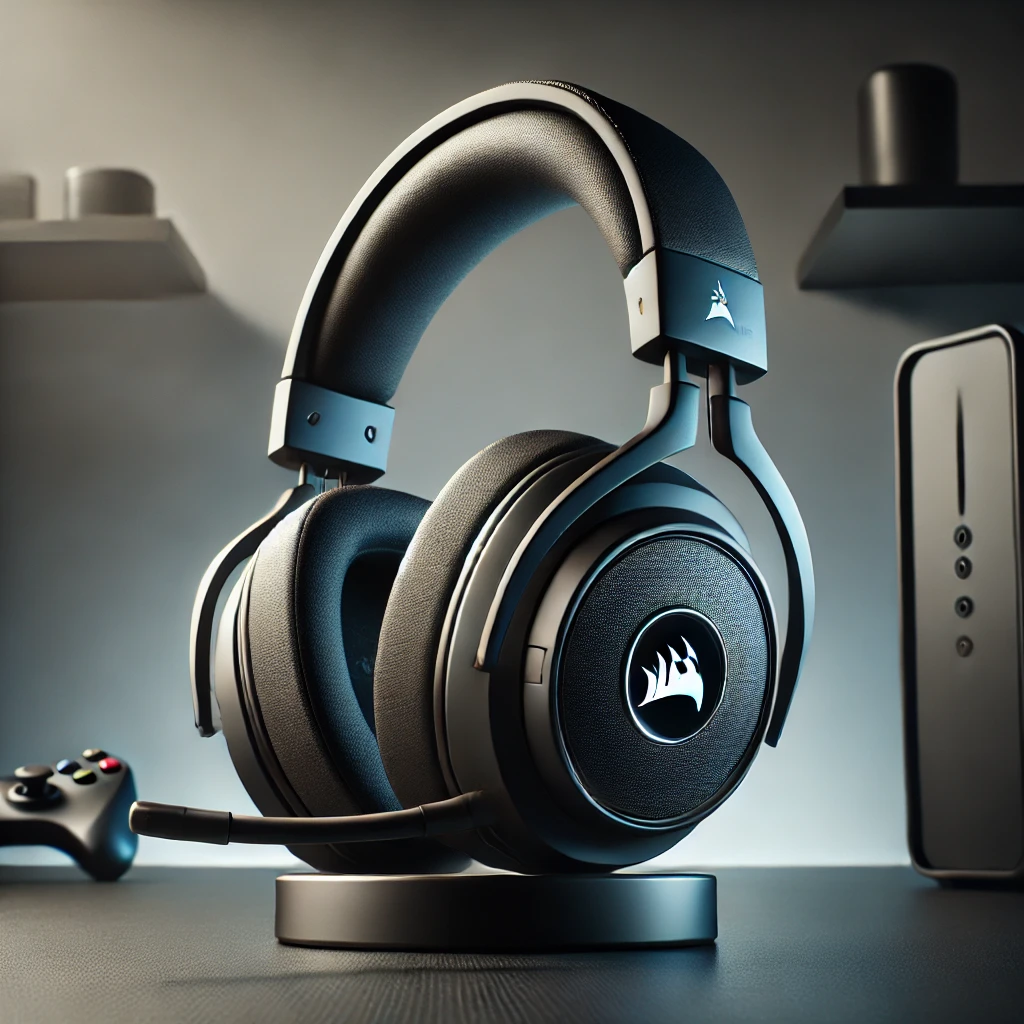
Corsair has established itself as a reputable name in gaming hardware, with its Virtuoso series of headsets designed to meet diverse demands. The Virtuoso headsets provide a premium audio experience, catering to gamers who want both high-quality sound and comfort. Here’s a quick look at what each model offers:

  • Virtuoso RGB Wireless: Known for its solid audio quality, customizable RGB lighting, and comfortable fit, it’s a popular choice for gamers.
  • Virtuoso SE: The Special Edition model improves on the standard Virtuoso with better sound isolation and an enhanced microphone, designed for professional gamers and streamers.
  • Virtuoso XT: Corsair’s top-tier headset offers dual wireless functionality with Bluetooth support, allowing seamless switching between devices.

Each model in the series has unique features and enhancements, making it suitable for specific types of users. Let’s dive into what Reddit users are saying and how these headsets stack up against each other.

What Reddit Users Say: Key Takeaways

Reddit has become a valuable source for honest feedback on tech products. Here are some common observations and recommendations from Reddit users about the Corsair Virtuoso series:

  1. Audio Quality: Users generally praise the Virtuoso lineup for its clear and immersive sound. The SE and XT models, in particular, are noted for enhanced bass and clarity, especially useful for FPS games where audio cues are vital.
  2. Comfort and Build: Users find the Corsair Virtuoso series comfortable for extended gaming sessions. The memory foam ear cushions are appreciated, although some users feel the headset can be a bit tight initially.
  3. Microphone Performance: The Virtuoso SE’s microphone has garnered high praise for its broadcast-quality audio. Many users on Reddit recommend it for streamers and content creators, although the Virtuoso RGB Wireless also performs well in casual use.
  4. Battery Life: Battery performance varies across the models. The Virtuoso XT and RGB Wireless generally last up to 20 hours, while the SE is slightly behind. However, battery life tends to vary depending on factors like RGB lighting usage.
  5. Dual Connectivity: Reddit users favor the Virtuoso XT for its dual wireless mode, especially for those switching between a PC and a mobile device.

In-Depth Comparison of Virtuoso Models

To help you pick the right headset, let’s take a closer look at each model and compare their core features.

1. Virtuoso RGB Wireless

  • Audio Quality: Balanced and clear, great for most games.
  • Mic Quality: Decent but lacks the clarity of the SE model.
  • Battery Life: Up to 20 hours, with an option to turn off RGB to save battery.
  • Price: Competitive within its category.

2. Virtuoso SE

  • Audio Quality: Enhanced sound profile, ideal for professional gaming and content creation.
  • Mic Quality: Broadcast-grade microphone for clear voice capture.
  • Battery Life: Around 18 hours.
  • Price: Higher than the RGB Wireless due to premium features.

3. Virtuoso XT

  • Audio Quality: High-quality audio with added Bluetooth connectivity.
  • Mic Quality: Comparable to the SE model with minor improvements.
  • Battery Life: Similar to the RGB Wireless, around 20 hours.
  • Price: Highest among the three, but justifies the cost with dual wireless capabilities.

Comparison Chart

Below is a quick-reference comparison chart to help you evaluate each model based on critical specs:

FeatureVirtuoso RGB WirelessVirtuoso SEVirtuoso XT
Audio QualityGreatEnhancedExceptional
Mic QualityGoodBroadcast-gradeBroadcast-grade
Battery LifeUp to 20 hoursAround 18 hoursUp to 20 hours
Dual Wireless (Bluetooth)NoNoYes
RGB LightingYesYesYes
ComfortComfortableExtra paddedComfortable
PriceMid-rangeHighPremium

Top Recommended Model by Reddit Users

Based on Reddit feedback and the features above, here’s a summary of which Corsair Virtuoso model is best suited for various types of users:

  • For Gamers: The Virtuoso RGB Wireless offers excellent value for everyday gamers with high-quality audio and battery life.
  • For Content Creators: If you’re a streamer or professional content creator, the Virtuoso SE is ideal due to its broadcast-quality microphone.
  • For Multi-Device Users: The Virtuoso XT is highly recommended for those who need to switch between gaming on a PC and taking calls or listening to music on a mobile device, thanks to its dual wireless feature.

Conclusion

Choosing the right Corsair Virtuoso headset depends on your specific needs. Whether you prioritize sound quality, microphone performance, or multi-device functionality, there’s a model that fits your requirements. The Virtuoso RGB Wireless is perfect for the budget-conscious gamer, the Virtuoso SE excels in microphone quality, and the Virtuoso XT is an all-rounder with additional Bluetooth support. With these insights from Reddit and the detailed comparison above, you’re now ready to pick the Corsair Virtuoso headset that best matches your gaming lifestyle.

Continue Reading
Click to comment

Leave a Reply

Your email address will not be published. Required fields are marked *

Technology

ecvh0 dforce master how to: Unlock Its Benefits

Published

on

ecvh0 dforce master how to

Introduction

Struggling with ecvh0 dforce master setup? You’re not alone. Many users find its configuration tricky, but mastering it unlocks powerful automation and efficiency. This guide breaks down the process into simple steps, helping you harness its full potential quickly.

Why It Matters

Properly setting up ecvh0 dforce master ensures smoother workflows, reduces errors, and maximizes productivity. Whether for personal projects or enterprise use, mastering this tool can save hours of manual work.

Step-by-Step Guide

1. Install & Configure

  • Download the latest ecvh0 dforce master package from the official site.
  • Follow the installation wizard, ensuring all dependencies are met.

2. Set Up Permissions

  • Assign appropriate user roles (admin, editor, viewer).
  • Configure access controls to prevent unauthorized changes.

3. Integrate with Your System

  • Connect ecvh0 dforcemaster to your existing tools via API.
  • Test the connection to ensure seamless data flow.

4. Automate Key Tasks

  • Use built-in templates or create custom automation rules.
  • Schedule recurring tasks to minimize manual input.

5. Monitor & Optimize

  • Track performance metrics in the dashboard.
  • Adjust settings for better speed and efficiency.

Pro Tip

Use keyboard shortcuts to navigate ecvh0 dforcemaster faster. Press Ctrl + K (Windows) or Cmd + K (Mac) to open the command palette for quick actions.

Conclusion

Mastering ecvh0 dforce master simplifies complex tasks and boosts efficiency. By following these steps, you’ll optimize your workflow and get the most out of this powerful tool.

FAQ

Is ecvh0 dforcemaster free?

It offers a free tier with limited features; advanced options require a subscription.

Can I use it offline?

Some features work offline, but full functionality requires an internet connection.

How secure is ecvh0 dforcemaster?

It uses encryption and role-based access for security. For best practices, check our security guide.

Continue Reading

Technology

How to Disassemble a Sony KV-27S42 CRT TV: Complete Guide

Published

on

How to Disassemble a Sony KV-27S42 CRT TV

Introduction

The Sony KV-27S42 is a classic CRT television, and while it’s no longer in production, many enthusiasts still repair, modify, or salvage these sets. However, disassembling a CRT TV requires caution—high-voltage components and delicate electronics mean one wrong move could be dangerous.

This guide will walk you through the full disassembly process of the KV-27S42, covering:
✔ Safety precautions (CRT discharge, avoiding shocks)
✔ Tool requirements (what you’ll need)
✔ Step-by-step teardown (removing the case, tube, and boards)
✔ Salvaging useful parts (what to keep or discard)
✔ Reassembly tips (if needed)

Whether you’re repairing, modding, or recycling, this guide ensures you do it safely and efficiently.

Why Disassemble a KV-27S42?

Before diving in, it’s worth understanding why you might need to take apart this TV:

🔹 Repairs – Fixing power supply issues, bad capacitors, or video problems.
🔹 Modifications – RGB or component video mods for retro gaming.
🔹 Salvage – Reusing the CRT, speakers, or other parts for projects.
🔹 Safe Disposal – CRTs contain hazardous materials (lead, phosphors) and must be recycled properly.

Warning:
⚠ CRTs hold high voltage even when unplugged – improper handling can result in severe electric shock.
⚠ The tube is heavy and fragile – dropping it can cause implosion or injury.

Tools & Safety Gear You’ll Need

Before starting, gather these essentials:

Essential Tools

✔ Screwdrivers (Phillips & flathead)
✔ CRT discharge tool (or insulated screwdriver + wire)
✔ Needle-nose pliers (for small connectors)
✔ Anti-static wrist strap (optional but recommended)

Safety Precautions

✔ Work in a dry, well-lit area
✔ Discharge the CRT before touching anything
✔ Wear gloves & safety glasses (glass shards are sharp)
✔ Keep pets/kids away (CRTs are dangerous when mishandled)

Step-by-Step Disassembly Guide

Step 1: Unplug & Discharge the CRT

  1. Unplug the TV and wait at least 30 minutes for capacitors to discharge.
  2. Locate the anode cap (the large rubber suction cup on the CRT).
  3. Discharge the CRT:
    • Use a CRT discharge tool (best option).
    • Alternative: Clip one end of a wire to the TV’s metal frame and carefully slide a flathead screwdriver under the anode cap until you hear/see a small spark.

Step 2: Remove the Rear Cover

  1. Flip the TV face-down on a soft surface (blanket/towel).
  2. Remove all rear screws (some may be hidden under stickers).
  3. Gently pry the back cover off—plastic tabs may hold it in place.

Step 3: Disconnect Internal Cables

  1. Take photos of all connections before unplugging anything.
  2. Unplug:
    • Deflection yoke (two large plugs near the tube neck)
    • Anode cap (already discharged, but still be careful)
    • Speaker wires & control board connectors

Step 4: Remove the CRT Tube

  1. Unscrew the 4 CRT mounting brackets (they hold the tube to the frame).
  2. Carefully lift the tube out – it’s extremely heavy (get help if needed).
  3. Set it face-down on a soft surface to avoid scratches.

Step 5: Extract Circuit Boards & Other Components

  1. Mainboard – Remove screws and gently lift it out.
  2. Power supply – Disconnect all wires before removing.
  3. Speakers & tuner – Useful for retro projects if salvaging.

Pro Tips for Safe Disassembly

🔧 Label every wire and screw (masking tape + marker) to avoid confusion later.
🔧 Use a magnetic tray to keep screws organized.
🔧 If keeping the CRT, store it upright to avoid stress on the glass.

What Can You Salvage?

If you’re parting out the TV, these components are useful:
✅ CRT tube – Great for arcade builds or replacements.
✅ Speakers – Decent quality for DIY audio projects.
✅ Power supply & mainboard – Useful for electronics tinkering.
✅ Control knobs & buttons – Handy for retro mods.

How to Dispose of a CRT Safely

CRTs contain leaded glass and toxic phosphors, so never throw them in the trash. Instead:
♻ Check local e-waste recycling centers (many accept CRTs for free).
♻ Contact electronics repair shops – Some may take old TVs.
♻ Look for CRT buyback programs (some collectors pay for working tubes).

Conclusion: How to Disassemble a Sony KV-27S42 CRT TV

How to Disassemble a Sony KV-27S42 CRT TV,  requires patience and safety awareness, but it’s a rewarding project for retro tech enthusiasts. Whether you’re fixing, modding, or salvaging, following this guide ensures a smooth process.

FAQ About How to Disassemble a Sony KV-27S42 CRT TV

1. Can I get shocked if the TV has been unplugged for days?

Yes! CRTs can hold charge for weeks. Always discharge before working.

2. How heavy is the KV-27S42 CRT?

Around 50-60 lbs (23-27 kg)—lift carefully or get help.

3. Can I reuse the CRT in another TV?

Possibly, but tube swaps require matching specs (size, impedance, etc.).

4. What if I break the CRT?

The glass is under vacuum—if it cracks, it can implode. Wear safety gear!

5. Is it worth repairing a KV-27S42?

If you love CRTs, yes! These Sonys have great picture quality for retro gaming.


Continue Reading

Technology

How Much Does Window Tinting Cost? Save Money, Boost Comfort

Published

on

How Much Does Window Tinting Cost?

Introduction

Window tinting costs can vary widely, leaving many car owners unsure about fair pricing. Whether you want UV protection, privacy, or heat reduction, understanding the factors that influence cost helps you budget wisely. This guide breaks down pricing, so you get the best value without surprises.

Why It Matters

Window tinting isn’t just about style—it blocks harmful UV rays, reduces glare, and keeps your car cooler. But overpaying or choosing cheap options can lead to poor quality. Knowing the average costs ensures you invest in a tint that lasts and performs well.

Step-by-Step Guide to Window Tinting Costs

1. Understand the Pricing Factors

  • Film Quality: Basic dyed film starts at 50–150, while premium ceramic tints run 200–800.
  • Vehicle Size: Smaller cars cost less (100–300) vs. SUVs (200–600).
  • Number of Windows: Full-car tinting costs more than just side windows.

2. Compare Film Types

  • Dyed Film (50–150): Affordable but fades faster.
  • Carbon Film (150–350): Better heat rejection, matte finish.
  • Ceramic Film (200–800): Top-tier heat/UV protection, no signal interference.

3. Factor in Labor Costs

Professional installation adds 50–200, depending on complexity. DIY kits (20–100) are cheaper but risk bubbles/peeling.

4. Check Local Market Prices

Urban areas often charge more. Get 3+ quotes to avoid overpaying.

5. Consider Legal Limits

Some states restrict tint darkness (e.g., California bans <70% VLT on front windows). Non-compliant tints may require costly removal.

Pro Tip

“Ask for a warranty! Reputable shops offer 5–10-year guarantees against peeling or fading—saving you long-term costs.”

Conclusion: How Much Does Window Tinting Cost

Window tinting cost 50–800+, depending on film type, vehicle size, and labor. Investing in ceramic film or a trusted installer ensures durability and performance. Always check local laws and compare quotes to make a smart choice.

FAQ: How Much Does Window Tinting Cost

1. Is tinting worth the cost?
Yes—it reduces skin-damaging UV rays by 99% and lowers AC use, saving fuel.

2. How long does tint last?
High-quality tints last 10+ years; cheap ones fade in 2–3 years.

3. Can I tint my windshield?
Most states only allow a clear or light tint strip. Check your local laws.

4. Does tint affect visibility?
Not if you choose the right VLT (%)—go for 35% or higher for safety.

Continue Reading

Trending