Connect with us

Technology

VR in the Oil and Gas Industry: Significant Influences

Published

on

VR in the Oil and Gas Industry

The oil and gas industry is filled with a variety of tasks that need to be carried out by hard working individuals. If safety is not taken, some may require working in dangerous circumstances that might harm personnel. To address these concerns, mineral professionals are exploring the integration of VR in the oil and gas industry.  

This technology not only reduces risks but also prepares workers to effectively work in hazardous environments. This comprehensive draft assists you in understanding VR in the oil and gas industry and its significant influence. Let’s start with an introduction to VR.  
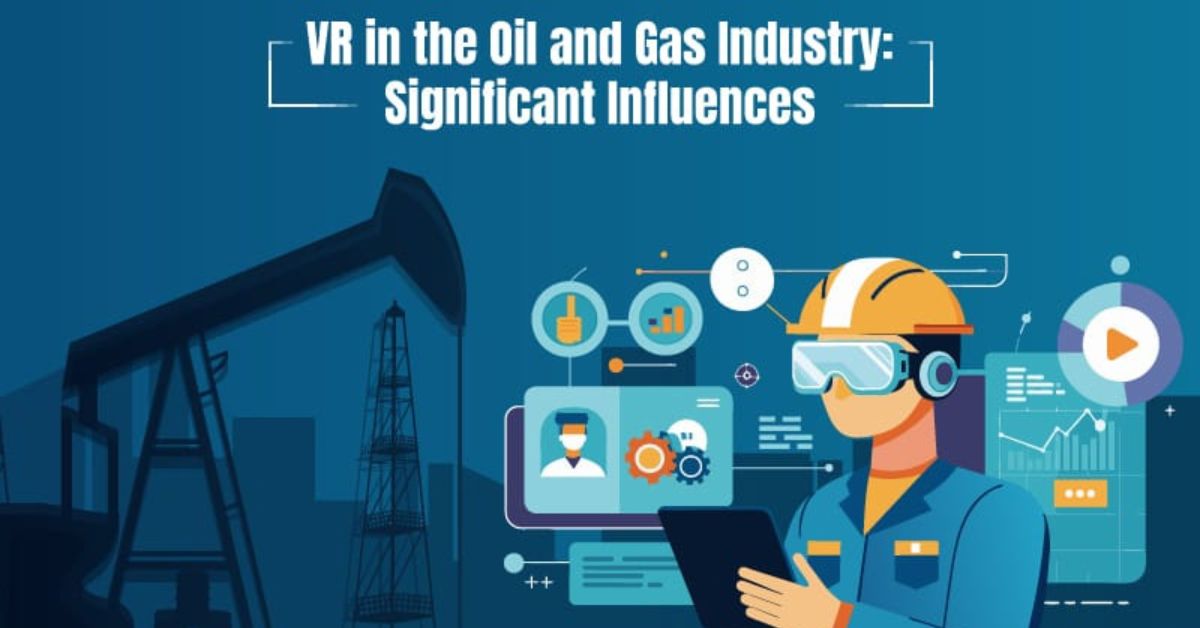
Introduction to VR

Virtual Reality (VR) is a newly arrived technology that generates 3D and realistic simulations of surroundings, machinery, equipment or any other thing enabling its users to experience a new world. By utilizing this technology one can experience a realistic world of any industry or surrounding without physically visiting there. 

Nowadays, the mineral sectors have also started utilizing VR technology to enhance production data results and operational efficiency. Below are the major influences of VR on the oil and gas industry. 

Majors Influences of VR on Oil and Gas Industry

VR technology has revolutionized the landscape of the oil and gas industry. Below are its major influences on the oil and gas industry. 

  • Effective Training Sessions to Work in Hazardous Areas

With the help of VR, training sessions are provided to the workers to work in Hazardous areas. VR makes simulations that provide realistic and efficient experiences helping workers to get trained for high-risk scenarios including sudden fire and explosion, heavy machinery handling and operating. 

These simulations generate secured yet realistic surroundings, enabling workers to carry out practices to dangerous situations without visiting the actual work place. By offering hands-on training sessions to the workers, VR improves the preparedness of workers, minimizing accidents and enhancing overall safety terms.   

  • Environmental Impact of VR in Oil and  Gas Operational Activities. 

Implementing VR applications helps minimize the physical travel requirement and on-site attendance, lowering carbon emissions and reducing the industry’s ecological footprint. 

Moreover, VR adds its efforts in enhancing operational efficiency through remote collaboration and training, optimizing resource usage as well as promoting sustainable alternatives in the oil and gas industry.  

VR for Asset Inspection and Maintenance

VR technology acts as a transformative instrument in the inspection and maintenance initiatives in the oil and gas industry. Integrating VR, oil, and gas firms are able to monitor pipelines, offshore structures, and equipment virtually, detecting potential abnormalities before their occurrence. 

The simulations made by VR deliver a realistic and effective experience, allowing technicians to inspect the assets from diverse approaches and angles. Such a perspective helps attain improved inspection accuracy, making the maintenance process effortless. 

By this way, minimizing the requirement of physical inspections VR helps minimize the downtime and effectively optimize resource allocation. Moreover, it helps enhance maintenance efficiency exceeding the lifespan of critical assets that leads to reliable and cost friendly oil and gas infrastructure. 

  • Simulations of Field Development and Reservoirs

VR technology generates impressive and realistic simulations of production environments, reservoir models, and complicated geological formations that help geoscientists analyze comprehensively without actually visiting the reservoir site. 

The visualization of data in 3D format assists engineers and geoscientists to obtain detailed activities associated with reservoir behavior, resulting in accurate decision making. Additionally, VR simulations support the companies to assess the prospective influence of various extraction techniques, ensure multiple production strategies and optimize well placements. 

Such an advanced approach enhances the efficiency of the oil and gas recovery process while reducing additional exploration expenses and driving sustainable initiatives.   

  • Remote Exploration and Drilling through VR

VR technology plays a vital role in shaping the outlook of exploration and drilling initiatives. It allows engineers and geoscientists to explore the drilling site as well as visualize the geology of the subsurface through fascinating 3D simulations. 

VR efficiently helps obtain the remote inspection of drilling rigs in real-time, improving security and operational efficiency. This approach provides a sustainable alternative for drilling, reducing additional expenses and promoting enhanced exploration and drilling undertakings. 

  • Improving Communication and Collaboration

With the help of VR-powered virtual meetings, geoscientists, engineers, and drillers can effectively communicate with each other on remote collaboration platforms. 

This technology helps promote better communication and collaboration within the oil and gas industry, improving overall productivity while facilitating safer and effortless operations.

This informative piece has covered detailed insights into VR in the oil and gas industry and its significant influence. With VR at the steering, the energy sector can look forward to even more effective operations and an array of lucrative benefits in the years to come.     

Continue Reading
Click to comment

Leave a Reply

Your email address will not be published. Required fields are marked *

Technology

ecvh0 dforce master how to: Unlock Its Benefits

Published

on

ecvh0 dforce master how to

Introduction

Struggling with ecvh0 dforce master setup? You’re not alone. Many users find its configuration tricky, but mastering it unlocks powerful automation and efficiency. This guide breaks down the process into simple steps, helping you harness its full potential quickly.

Why It Matters

Properly setting up ecvh0 dforce master ensures smoother workflows, reduces errors, and maximizes productivity. Whether for personal projects or enterprise use, mastering this tool can save hours of manual work.

Step-by-Step Guide

1. Install & Configure

  • Download the latest ecvh0 dforce master package from the official site.
  • Follow the installation wizard, ensuring all dependencies are met.

2. Set Up Permissions

  • Assign appropriate user roles (admin, editor, viewer).
  • Configure access controls to prevent unauthorized changes.

3. Integrate with Your System

  • Connect ecvh0 dforcemaster to your existing tools via API.
  • Test the connection to ensure seamless data flow.

4. Automate Key Tasks

  • Use built-in templates or create custom automation rules.
  • Schedule recurring tasks to minimize manual input.

5. Monitor & Optimize

  • Track performance metrics in the dashboard.
  • Adjust settings for better speed and efficiency.

Pro Tip

Use keyboard shortcuts to navigate ecvh0 dforcemaster faster. Press Ctrl + K (Windows) or Cmd + K (Mac) to open the command palette for quick actions.

Conclusion

Mastering ecvh0 dforce master simplifies complex tasks and boosts efficiency. By following these steps, you’ll optimize your workflow and get the most out of this powerful tool.

FAQ

Is ecvh0 dforcemaster free?

It offers a free tier with limited features; advanced options require a subscription.

Can I use it offline?

Some features work offline, but full functionality requires an internet connection.

How secure is ecvh0 dforcemaster?

It uses encryption and role-based access for security. For best practices, check our security guide.

Continue Reading

Technology

How to Disassemble a Sony KV-27S42 CRT TV: Complete Guide

Published

on

How to Disassemble a Sony KV-27S42 CRT TV

Introduction

The Sony KV-27S42 is a classic CRT television, and while it’s no longer in production, many enthusiasts still repair, modify, or salvage these sets. However, disassembling a CRT TV requires caution—high-voltage components and delicate electronics mean one wrong move could be dangerous.

This guide will walk you through the full disassembly process of the KV-27S42, covering:
✔ Safety precautions (CRT discharge, avoiding shocks)
✔ Tool requirements (what you’ll need)
✔ Step-by-step teardown (removing the case, tube, and boards)
✔ Salvaging useful parts (what to keep or discard)
✔ Reassembly tips (if needed)

Whether you’re repairing, modding, or recycling, this guide ensures you do it safely and efficiently.

Why Disassemble a KV-27S42?

Before diving in, it’s worth understanding why you might need to take apart this TV:

🔹 Repairs – Fixing power supply issues, bad capacitors, or video problems.
🔹 Modifications – RGB or component video mods for retro gaming.
🔹 Salvage – Reusing the CRT, speakers, or other parts for projects.
🔹 Safe Disposal – CRTs contain hazardous materials (lead, phosphors) and must be recycled properly.

Warning:
⚠ CRTs hold high voltage even when unplugged – improper handling can result in severe electric shock.
⚠ The tube is heavy and fragile – dropping it can cause implosion or injury.

Tools & Safety Gear You’ll Need

Before starting, gather these essentials:

Essential Tools

✔ Screwdrivers (Phillips & flathead)
✔ CRT discharge tool (or insulated screwdriver + wire)
✔ Needle-nose pliers (for small connectors)
✔ Anti-static wrist strap (optional but recommended)

Safety Precautions

✔ Work in a dry, well-lit area
✔ Discharge the CRT before touching anything
✔ Wear gloves & safety glasses (glass shards are sharp)
✔ Keep pets/kids away (CRTs are dangerous when mishandled)

Step-by-Step Disassembly Guide

Step 1: Unplug & Discharge the CRT

  1. Unplug the TV and wait at least 30 minutes for capacitors to discharge.
  2. Locate the anode cap (the large rubber suction cup on the CRT).
  3. Discharge the CRT:
    • Use a CRT discharge tool (best option).
    • Alternative: Clip one end of a wire to the TV’s metal frame and carefully slide a flathead screwdriver under the anode cap until you hear/see a small spark.

Step 2: Remove the Rear Cover

  1. Flip the TV face-down on a soft surface (blanket/towel).
  2. Remove all rear screws (some may be hidden under stickers).
  3. Gently pry the back cover off—plastic tabs may hold it in place.

Step 3: Disconnect Internal Cables

  1. Take photos of all connections before unplugging anything.
  2. Unplug:
    • Deflection yoke (two large plugs near the tube neck)
    • Anode cap (already discharged, but still be careful)
    • Speaker wires & control board connectors

Step 4: Remove the CRT Tube

  1. Unscrew the 4 CRT mounting brackets (they hold the tube to the frame).
  2. Carefully lift the tube out – it’s extremely heavy (get help if needed).
  3. Set it face-down on a soft surface to avoid scratches.

Step 5: Extract Circuit Boards & Other Components

  1. Mainboard – Remove screws and gently lift it out.
  2. Power supply – Disconnect all wires before removing.
  3. Speakers & tuner – Useful for retro projects if salvaging.

Pro Tips for Safe Disassembly

🔧 Label every wire and screw (masking tape + marker) to avoid confusion later.
🔧 Use a magnetic tray to keep screws organized.
🔧 If keeping the CRT, store it upright to avoid stress on the glass.

What Can You Salvage?

If you’re parting out the TV, these components are useful:
✅ CRT tube – Great for arcade builds or replacements.
✅ Speakers – Decent quality for DIY audio projects.
✅ Power supply & mainboard – Useful for electronics tinkering.
✅ Control knobs & buttons – Handy for retro mods.

How to Dispose of a CRT Safely

CRTs contain leaded glass and toxic phosphors, so never throw them in the trash. Instead:
♻ Check local e-waste recycling centers (many accept CRTs for free).
♻ Contact electronics repair shops – Some may take old TVs.
♻ Look for CRT buyback programs (some collectors pay for working tubes).

Conclusion: How to Disassemble a Sony KV-27S42 CRT TV

How to Disassemble a Sony KV-27S42 CRT TV,  requires patience and safety awareness, but it’s a rewarding project for retro tech enthusiasts. Whether you’re fixing, modding, or salvaging, following this guide ensures a smooth process.

FAQ About How to Disassemble a Sony KV-27S42 CRT TV

1. Can I get shocked if the TV has been unplugged for days?

Yes! CRTs can hold charge for weeks. Always discharge before working.

2. How heavy is the KV-27S42 CRT?

Around 50-60 lbs (23-27 kg)—lift carefully or get help.

3. Can I reuse the CRT in another TV?

Possibly, but tube swaps require matching specs (size, impedance, etc.).

4. What if I break the CRT?

The glass is under vacuum—if it cracks, it can implode. Wear safety gear!

5. Is it worth repairing a KV-27S42?

If you love CRTs, yes! These Sonys have great picture quality for retro gaming.


Continue Reading

Technology

How Much Does Window Tinting Cost? Save Money, Boost Comfort

Published

on

How Much Does Window Tinting Cost?

Introduction

Window tinting costs can vary widely, leaving many car owners unsure about fair pricing. Whether you want UV protection, privacy, or heat reduction, understanding the factors that influence cost helps you budget wisely. This guide breaks down pricing, so you get the best value without surprises.

Why It Matters

Window tinting isn’t just about style—it blocks harmful UV rays, reduces glare, and keeps your car cooler. But overpaying or choosing cheap options can lead to poor quality. Knowing the average costs ensures you invest in a tint that lasts and performs well.

Step-by-Step Guide to Window Tinting Costs

1. Understand the Pricing Factors

  • Film Quality: Basic dyed film starts at 50–150, while premium ceramic tints run 200–800.
  • Vehicle Size: Smaller cars cost less (100–300) vs. SUVs (200–600).
  • Number of Windows: Full-car tinting costs more than just side windows.

2. Compare Film Types

  • Dyed Film (50–150): Affordable but fades faster.
  • Carbon Film (150–350): Better heat rejection, matte finish.
  • Ceramic Film (200–800): Top-tier heat/UV protection, no signal interference.

3. Factor in Labor Costs

Professional installation adds 50–200, depending on complexity. DIY kits (20–100) are cheaper but risk bubbles/peeling.

4. Check Local Market Prices

Urban areas often charge more. Get 3+ quotes to avoid overpaying.

5. Consider Legal Limits

Some states restrict tint darkness (e.g., California bans <70% VLT on front windows). Non-compliant tints may require costly removal.

Pro Tip

“Ask for a warranty! Reputable shops offer 5–10-year guarantees against peeling or fading—saving you long-term costs.”

Conclusion: How Much Does Window Tinting Cost

Window tinting cost 50–800+, depending on film type, vehicle size, and labor. Investing in ceramic film or a trusted installer ensures durability and performance. Always check local laws and compare quotes to make a smart choice.

FAQ: How Much Does Window Tinting Cost

1. Is tinting worth the cost?
Yes—it reduces skin-damaging UV rays by 99% and lowers AC use, saving fuel.

2. How long does tint last?
High-quality tints last 10+ years; cheap ones fade in 2–3 years.

3. Can I tint my windshield?
Most states only allow a clear or light tint strip. Check your local laws.

4. Does tint affect visibility?
Not if you choose the right VLT (%)—go for 35% or higher for safety.

Continue Reading

Trending